More kit photos (2)
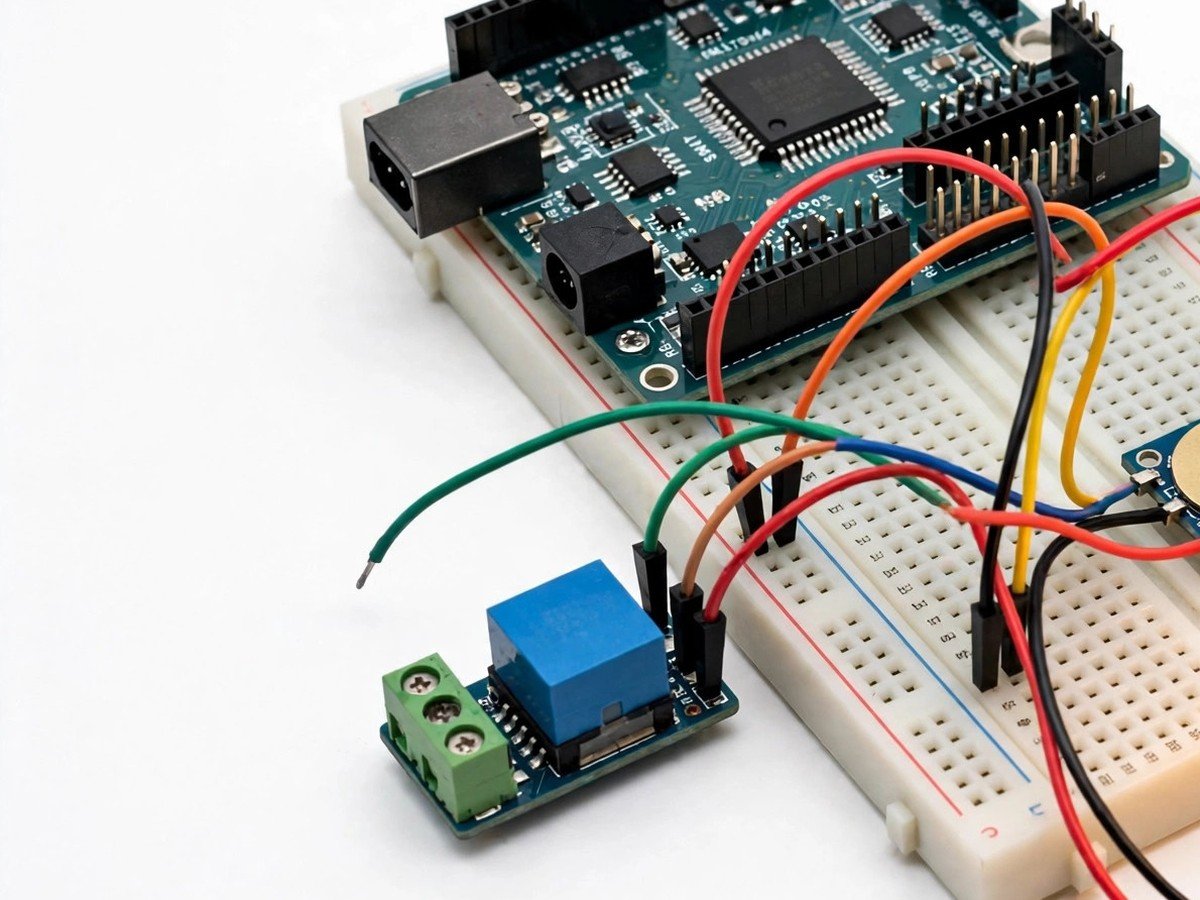
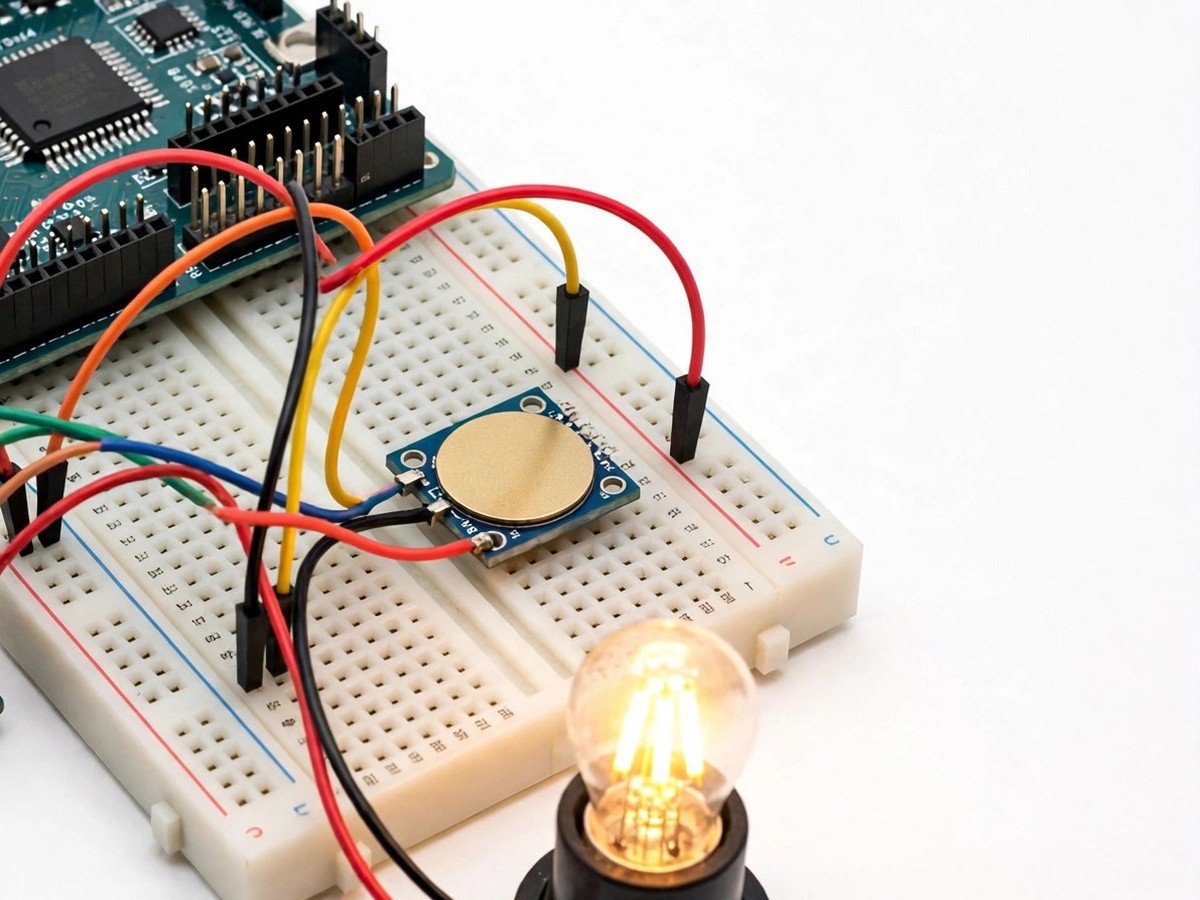
Build time: 45 minutes · Soldering: No
Safety note: the classroom version switches a low-voltage LED lamp model only. No mains wiring by students.
The Problem
Most switches students meet have a moving part: press it, something clicks, a contact closes. A touch switch has no moving part at all, which makes it a good mystery for a class. A fingertip near a small metal pad changes the capacitance the sensor measures, and the sensor turns that tiny change into a clean on-or-off signal. This kit lets students test that idea with their own hands: one touch switches a lamp LED on, the next touch switches it off, and the class can then test the edges. A gloved finger, a wet finger, and a pencil tip do not all behave the same, and those differences teach the real point. Touch sensing is not magic, it is a measurement, and like every measurement it has conditions under which it works and conditions under which it fails.
How It Works
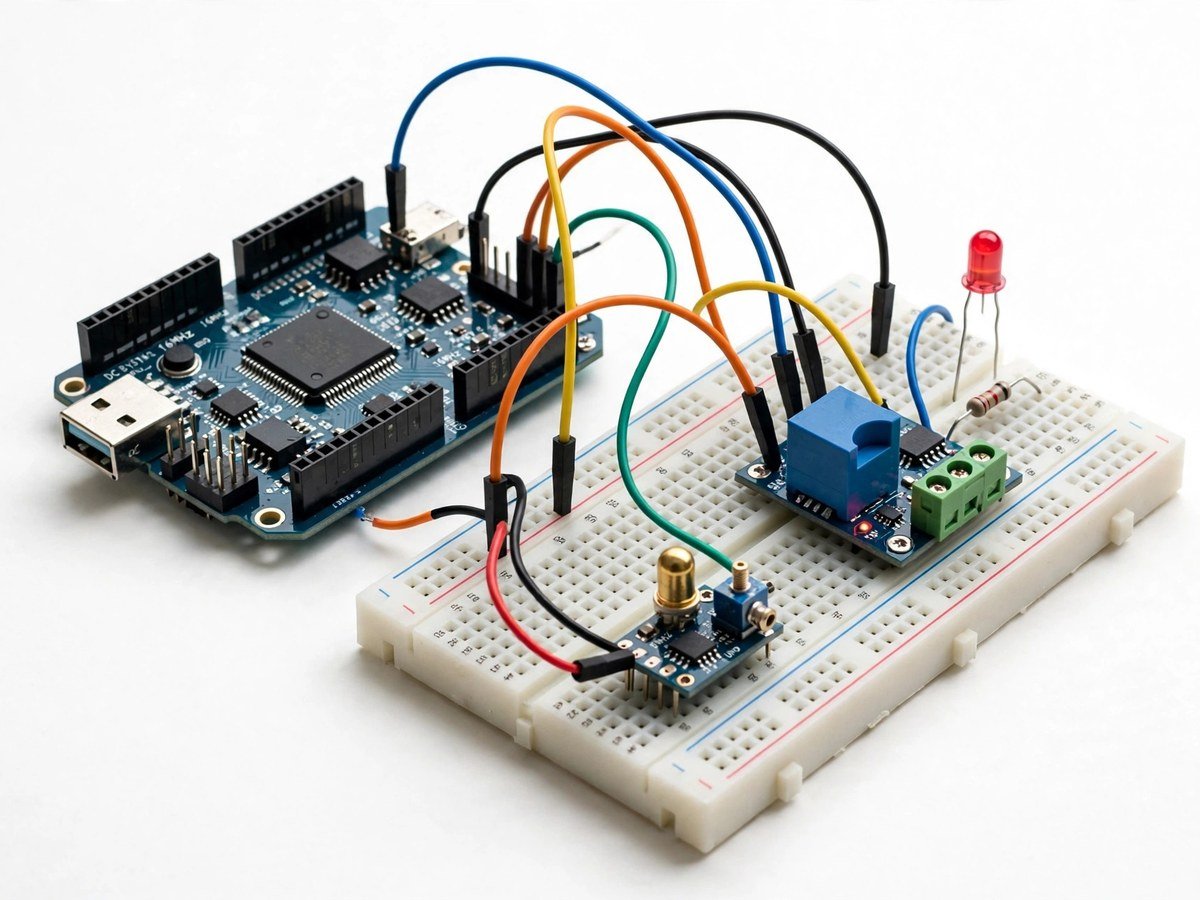
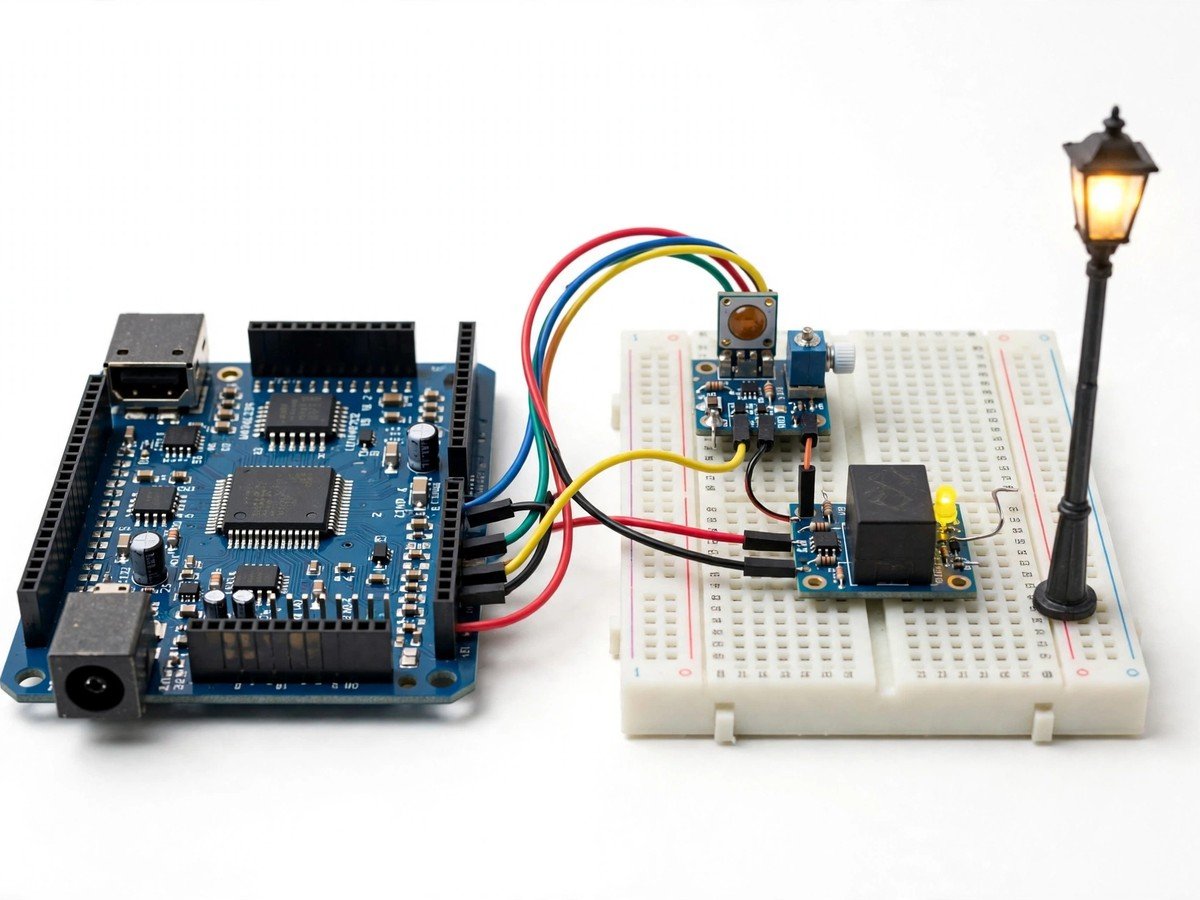
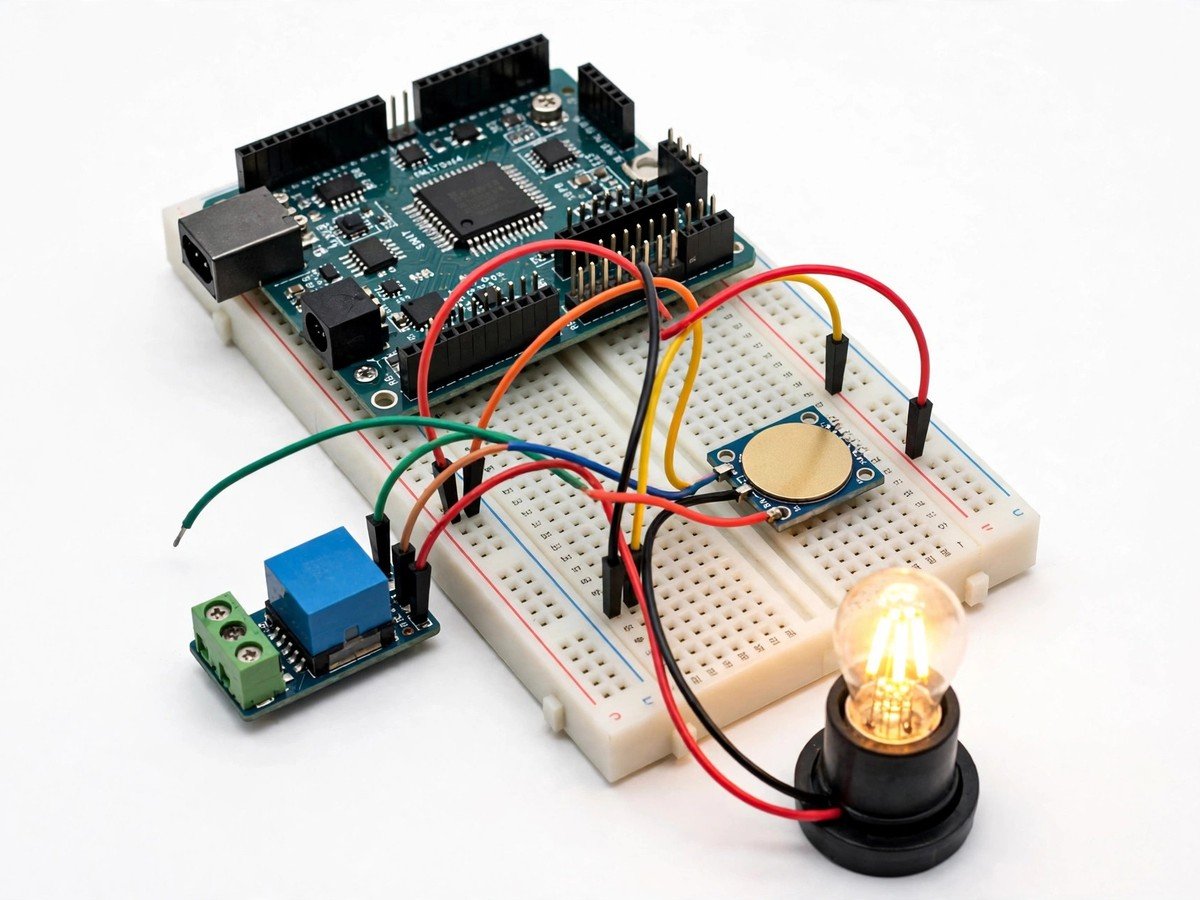
- Connect the touch sensor module, relay module, and LED lamp to the board through the breadboard, following the wiring guide.
- Upload the ready code and check that the lamp starts off with nobody touching the pad.
- Touch the pad once and check that the relay clicks and the lamp switches on.
- Touch the pad again and check that the lamp switches off, so one pad does both jobs.
- Test the edges as a class: a bare finger, a gloved finger, a wet finger, and a pencil tip, recording which ones switch the lamp.
- Discuss why the results differ: the sensor measures a change in capacitance, and gloves, water, and plastic change that measurement differently.
- Discuss where a touch switch beats a push button, and where a button is still better, such as with gloves or wet hands.
- Switch the kit off and pack the touch pad where it will not be bent, as the pad is the most fragile part of this kit.
Features
- A capacitive touch sensor pad, so the class switches a lamp with a fingertip and no moving part.
- A relay-switched LED lamp model, so the switching step is visible and audible as a relay click.
- One-pad on and off, so students see a single input carry two jobs through a toggle.
- Touch-condition tests with gloves, wet fingers, and pencil tips, so the limits of capacitive sensing are found by testing.
- Breadboard build only, so the classroom build needs no soldering.
What Is Included
- Arduino-compatible board
- Touch sensor module
- LED
- Relay module
- Breadboard
- Jumper wires
Every pack also includes: all parts tested before dispatch; step-by-step assembly guide in English and Marathi; ready code where code is needed; a teacher guide with 3 classroom activities, common mistakes, and answers; spare jumper wires and a spare sensor or LED where the part is fragile; and WhatsApp support for the teacher.
Demo video: no video link is shown on this page yet. A demo video link will be added here only when a real video for this kit exists.
Tech Stack
- Arduino-compatible board
- Touch sensor module
- Relay module
- LED lamp model
- Breadboard
Specifications
| Parameter | Value |
|---|---|
| Controller | Arduino-compatible board |
| Main sensor | Touch sensor module, capacitive pad |
| Switching | Relay module, LED lamp model load only |
| Output | LED lamp model |
| Power | Board power as supplied in the pack |
| Build time | 45 minutes |
| Soldering | No |
| Coding level | Ready code; no code change needed to run it |
| Phone or computer needed | Computer only to upload the ready code once |
| Wi-Fi needed | No |
Limitations
- This is a classroom demonstration of touch switching. It is not a household switch, and it must never be wired to household mains or fitted to a real lamp by students.
- The relay in the classroom version switches the low-voltage LED lamp model only. No mains wiring by students, ever.
- Touch sensing depends on the finger and its covering. Gloves, very dry skin, and non-conductive objects may not switch the lamp, which is a real behaviour of capacitive sensing.
- The pad measures a small capacitance change, so nearby metal objects and long wires can change its sensitivity. Keep the wiring as shown in the guide.
Frequently Asked Questions
Do students need to know coding?
No. Ready code is included, and the kit runs as soon as the pad is touched.
Why did a gloved finger not switch the lamp?
The glove blocks the capacitance change the sensor measures. The sensor needs a bare fingertip, or a thin covering, to register a touch.
Can this kit switch a real household lamp?
No, not in its classroom form. It switches a low-voltage LED lamp model only, and it must never be wired to household mains by students.
Is soldering needed?
No. The classroom version uses a breadboard and pre-wired modules.