More kit photos (2)
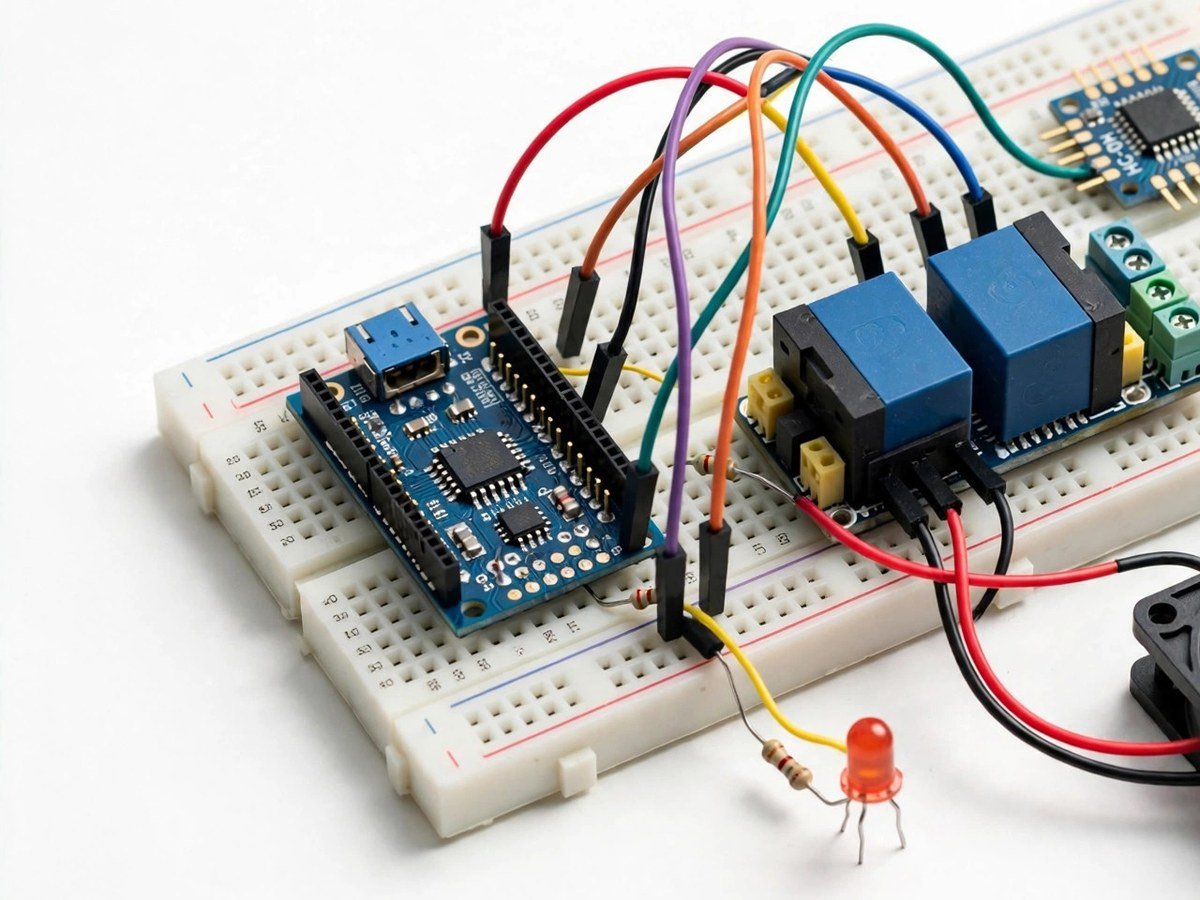
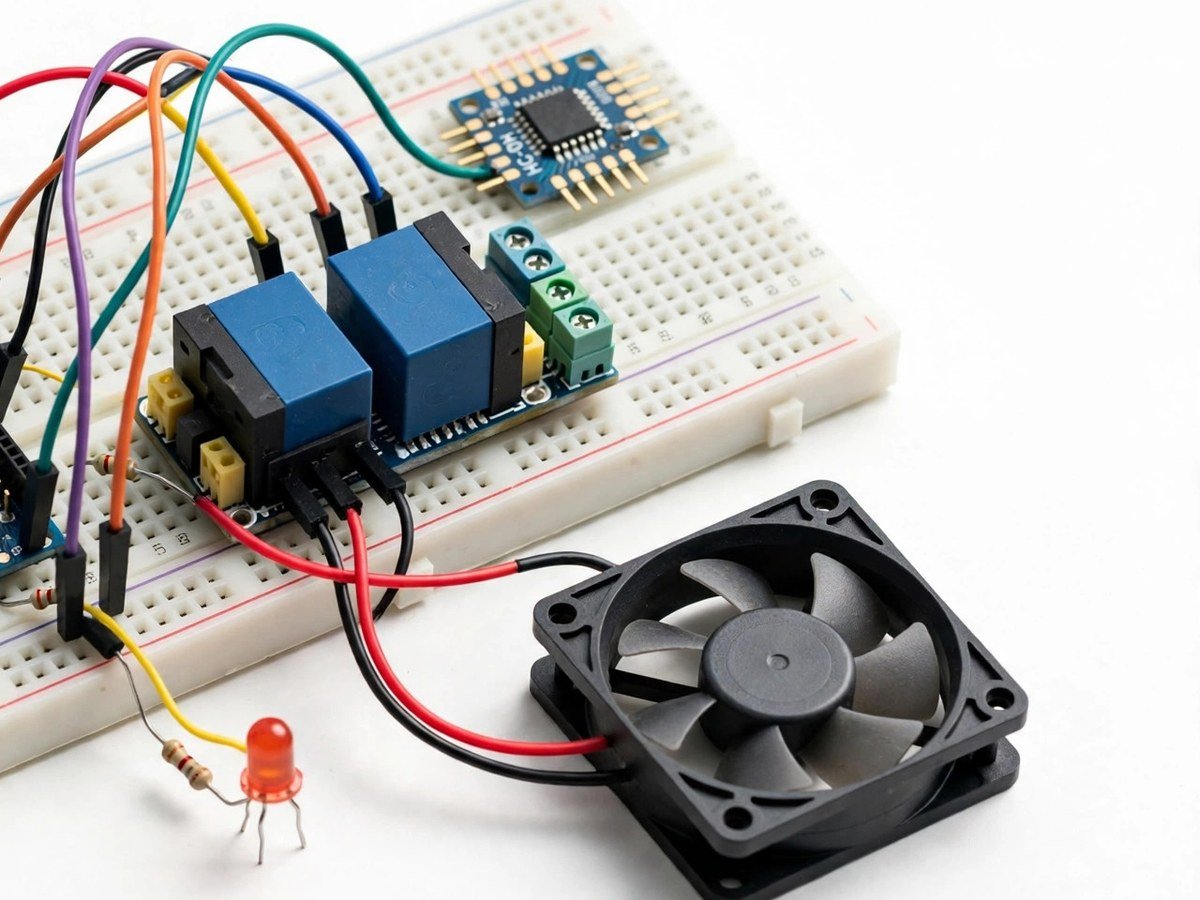
Build time: 60–90 minutes · Soldering: No
Safety note: the classroom version uses only low-voltage demo loads. No mains wiring by students.
The Problem
Smart homes are sold as magic: speak, and a light turns on. Students hear the claim but never see the one component that makes it possible — a relay, a switch that a small signal can open and close. Without that, automation stays a story about apps, and students cannot judge what is safe, what saves electricity, and what is only a gimmick. This kit shows the relay working, with a phone as the remote and an LED and a small fan as the loads. The class can also test the saving claim honestly: a timer that leaves a fan running all night saves nothing, and a light switched off when a room is empty saves something. That judgement matters more than the remote itself.
How It Works
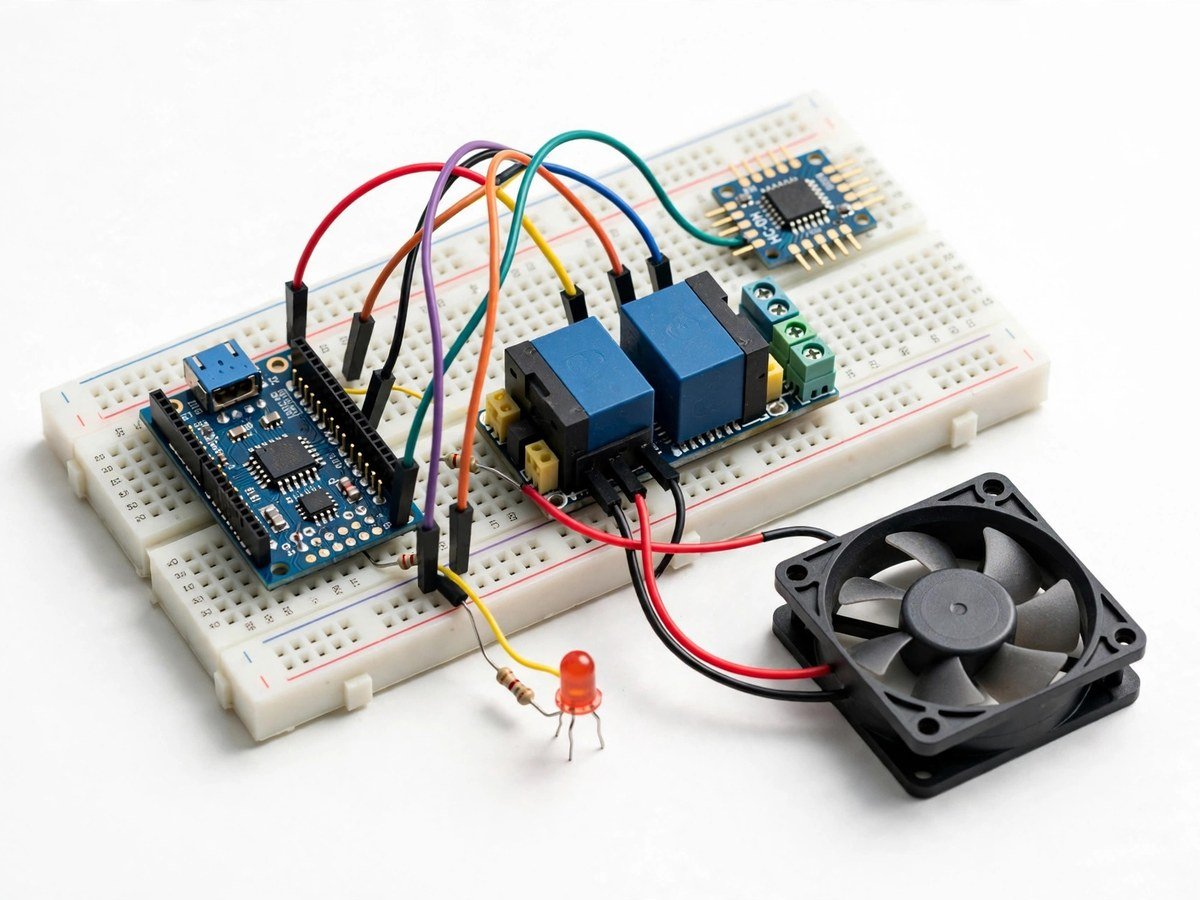
- Connect the 2-channel relay to the board, following the wiring guide, and keep the demo loads separate from the control wiring.
- Connect the LED and the small DC fan as the two demo loads. These are low-voltage loads only.
- Connect the Bluetooth module and pair it with a phone using the free controller app named in the guide.
- Upload the ready code.
- Switch the LED on and off from the phone, then switch the fan, and check that each relay channel controls only its own load.
- Set a timer for one load and watch it switch off on its own.
- Discuss, as a class, which automations save electricity and which only add convenience, using the timer test as evidence.
- Switch everything off and pack the relay and Bluetooth module back carefully before storage.
Features
- A 2-channel relay, so two demo loads can be switched independently.
- Bluetooth phone control with a free controller app. No paid app is required.
- An LED and a small DC fan as visible demo loads.
- A timer activity, so the class can test whether automation actually saves electricity.
- Breadboard build only, so the classroom build needs no soldering.
What Is Included
- Arduino-compatible board
- 2-channel relay
- Bluetooth module
- LED + small DC fan as demo loads
- Breadboard
- Wires
Every pack also includes: all parts tested before dispatch; step-by-step assembly guide in English and Marathi; ready code where code is needed; a teacher guide with 3 classroom activities, common mistakes, and answers; spare jumper wires and a spare sensor or LED where the part is fragile; and WhatsApp support for the teacher.
Demo video: no video link is shown on this page yet. A demo video link will be added here only when a real video for this kit exists.
Tech Stack
- Arduino-compatible board
- 2-channel relay
- Bluetooth module
- LED + small DC fan (demo loads)
- Breadboard
Specifications
| Parameter | Value |
|---|---|
| Controller | Arduino-compatible board |
| Switching | 2-channel relay module |
| Wireless | Bluetooth module, free controller app |
| Demo loads | LED + small DC fan, low-voltage only |
| Power | Board and battery power as supplied in the pack |
| Build time | 60–90 minutes |
| Soldering | No |
| Coding level | Ready code + free controller app |
| Phone or computer needed | Phone for control; computer only to upload the ready code once |
| Wi-Fi needed | No — Bluetooth only |
Limitations
- Classroom version uses only low-voltage demo loads. No mains wiring by students. This kit must never be connected to household mains wiring in a classroom.
- Bluetooth range is short, typically one room. Walls and other Bluetooth devices can interrupt control.
- This is a demonstration of relay switching and remote control. It is not a home automation installation and must not be fitted to a real home electrical circuit by students.
Frequently Asked Questions
Do students need to know coding?
No. Ready code is included, and the phone app is a free controller app.
Can this kit control a real home light?
No, not in its classroom form. It switches low-voltage demo loads only, and it must never be wired to household mains by students.
Why does the phone sometimes lose control?
Bluetooth range is short. Stay in the same room as the kit and check that no other device has taken the connection.
Is soldering needed?
No. The classroom version uses a breadboard and pre-wired modules.