More kit photos (2)
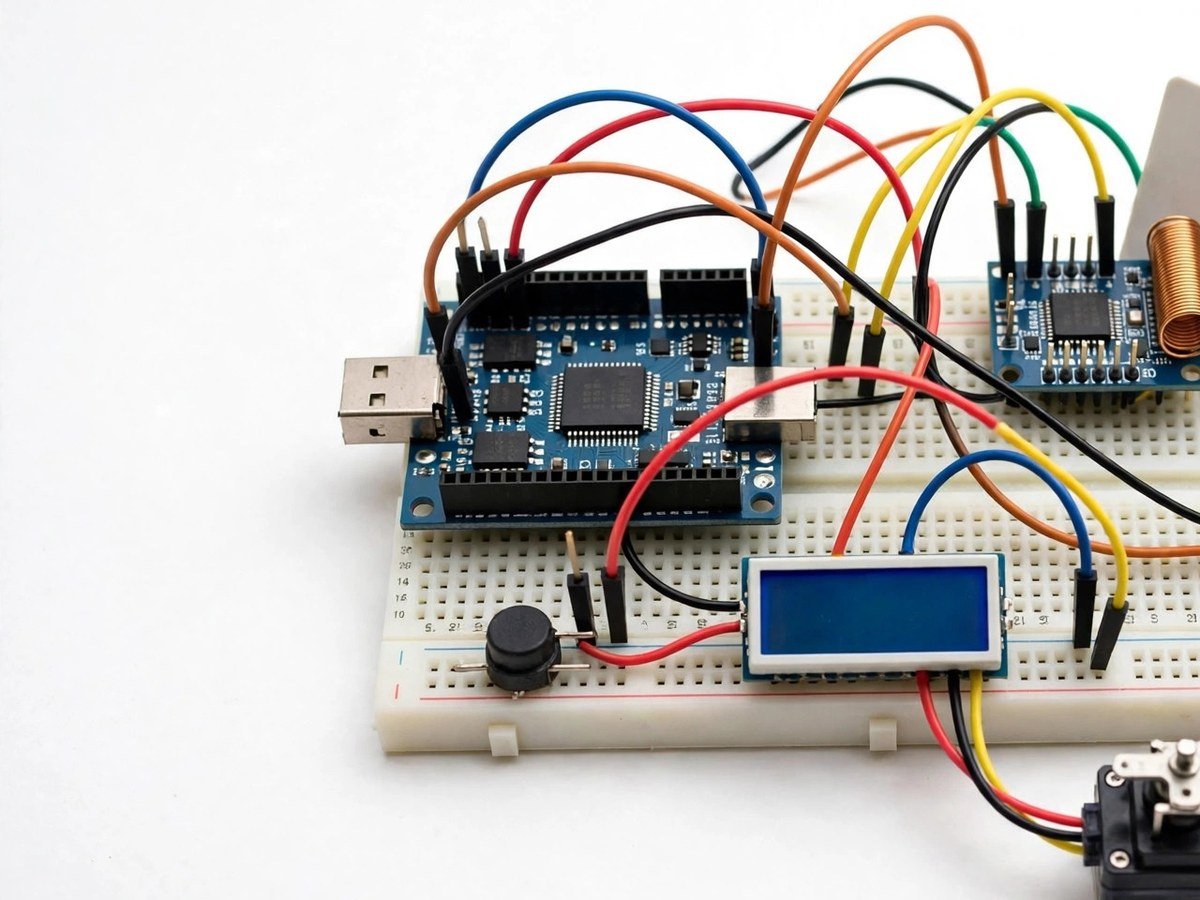
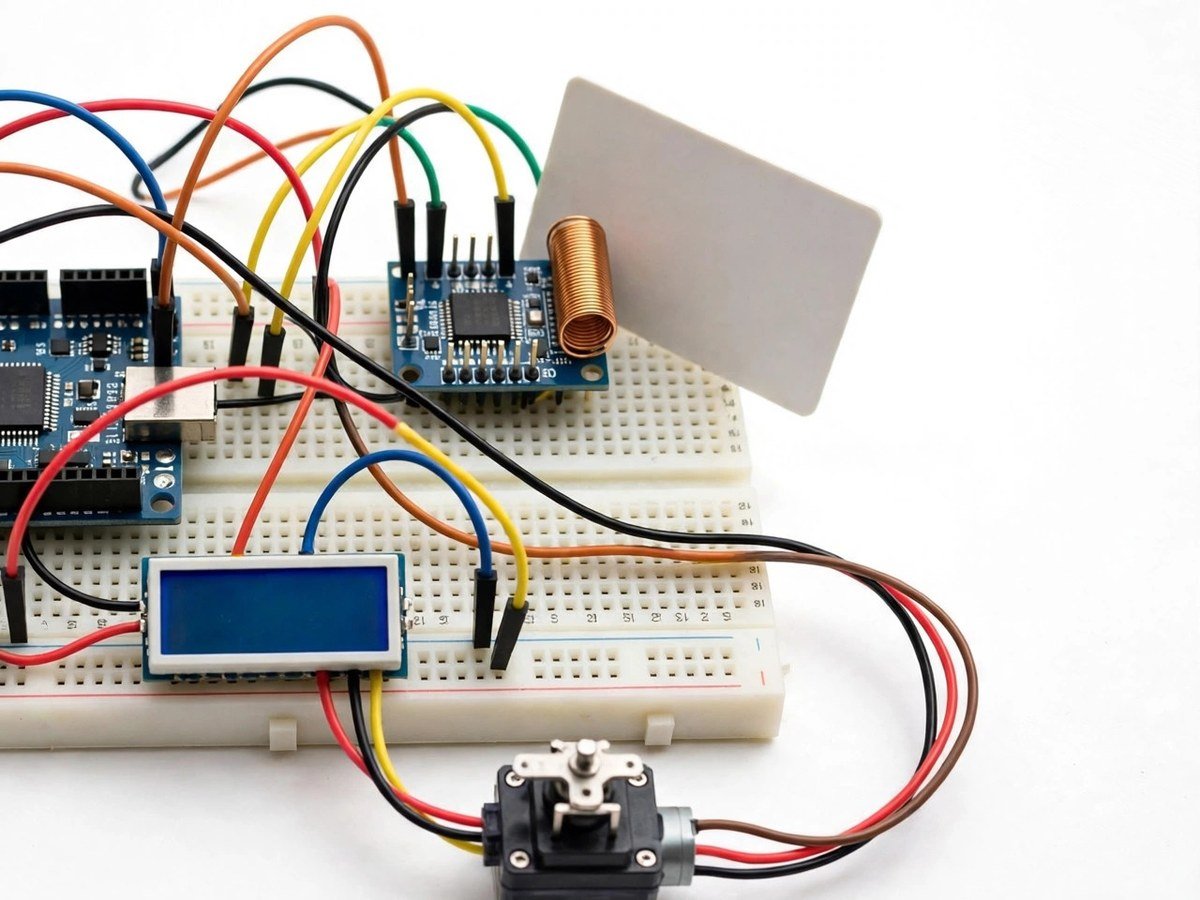
Build time: 60–90 minutes · Soldering: No
The Problem
Students tap a card every day — at a school gate, a library, a bus — and the door opens or it does not. Almost none of them know what the card actually carries, what the reader checks, or where the record goes. That ignorance matters, because the same system that takes attendance also creates a record of where a person was and when. This kit shows both sides in one build: an allowed card opens a small latch, an unknown card buzzes, and the class logs entries by hand. The privacy discussion at the end is not an extra. It is the reason this kit belongs in Class 9 and 10, not just in a robotics club.
How It Works
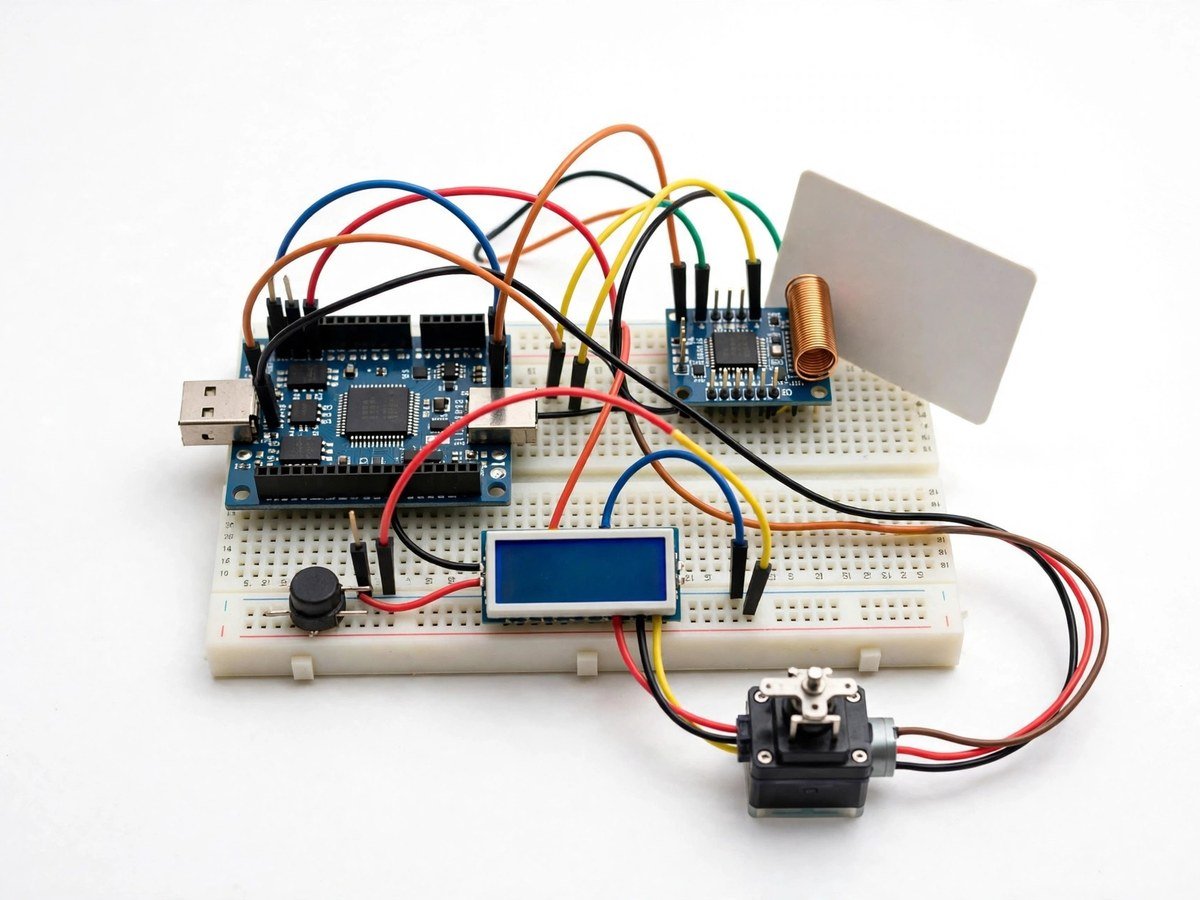
- Connect the RFID reader, servo, buzzer, and LCD display to the board, following the wiring guide.
- Upload the ready code. The two cards or tags in the box are the allowed cards for the demo.
- Tap an allowed card and check that the servo latch opens and the display shows the entry.
- Tap an unknown card or tag and check that the buzzer sounds and the latch stays closed.
- Log entries by hand in a table: card, time, allowed or denied.
- Discuss the log as a class: who should see it, how long it should be kept, and what happens if a card is lost or lent to someone else.
- Test the range: hold the card at different distances and note where reading stops working.
- Pack the cards and tags back with the kit, as a lost card in a classroom demo becomes an unknown card in the next lesson.
Features
- An RFID reader with two cards or tags, so the class can test allowed and unknown cards.
- A servo latch demo, so an allowed card visibly opens something.
- A buzzer for denied cards, so the two outcomes are unmistakable.
- An LCD display for the entry result.
- A hand-logged attendance table activity, so the data question is concrete, not abstract.
What Is Included
- Arduino-compatible board
- RFID reader + 2 cards/tags
- Servo (door latch demo)
- Buzzer
- LCD
- Breadboard
Every pack also includes: all parts tested before dispatch; step-by-step assembly guide in English and Marathi; ready code where code is needed; a teacher guide with 3 classroom activities, common mistakes, and answers; spare jumper wires and a spare sensor or LED where the part is fragile; and WhatsApp support for the teacher.
Demo video: no video link is shown on this page yet. A demo video link will be added here only when a real video for this kit exists.
Tech Stack
- Arduino-compatible board
- RFID reader + 2 cards/tags
- Servo motor (latch demo)
- Buzzer
- LCD display
Specifications
| Parameter | Value |
|---|---|
| Controller | Arduino-compatible board |
| Reader | RFID reader + 2 cards/tags |
| Latch | Servo motor (demo latch) |
| Outputs | LCD display + buzzer |
| Power | Board power as supplied in the pack |
| Build time | 60–90 minutes |
| Soldering | No |
| Coding level | Ready code |
| Phone or computer needed | Computer only to upload the ready code once |
| Wi-Fi needed | No |
Limitations
- This is a classroom demo of access control. It is not a security system and must never be fitted to a real school door, gate, or safe.
- The demo cards are not secure credentials. A card can be lent, lost, or copied, which is exactly why the privacy discussion matters.
- Reading range is short, only a few centimetres. The card must be held close to the reader, and metal or other cards nearby can interfere.
- The demo does not store attendance in a database. Entries are logged by hand in class, which is deliberate for a school demo.
Frequently Asked Questions
Do students need to know coding?
No. Ready code is included.
Can this lock a real school door?
No. It is a classroom demo only. It must never be fitted to a real door or gate.
What happens if a card is lost?
In the demo, a lost card becomes a card the class must remove from the allowed list. In a real system, that is the same problem at larger scale, and the class should discuss it.
Is soldering needed?
No. The classroom version uses a breadboard.