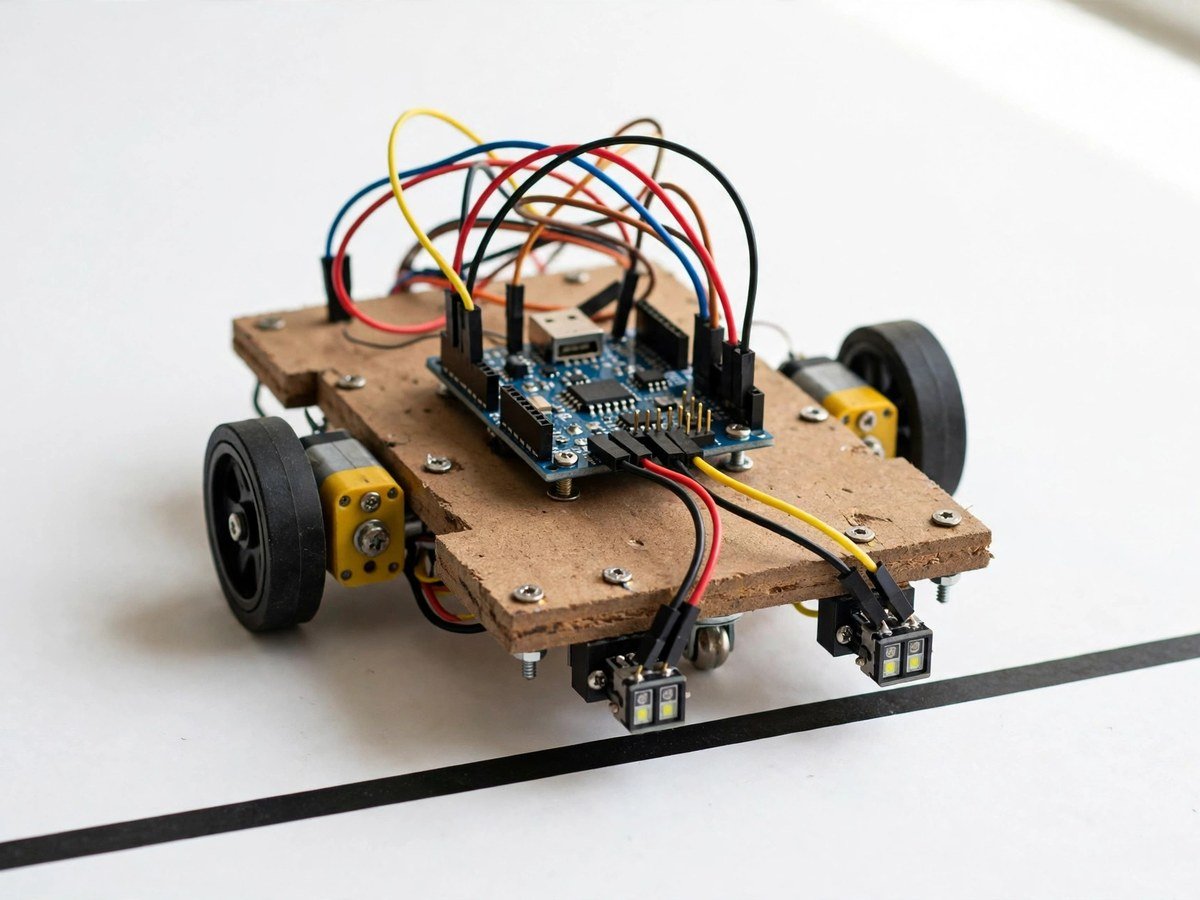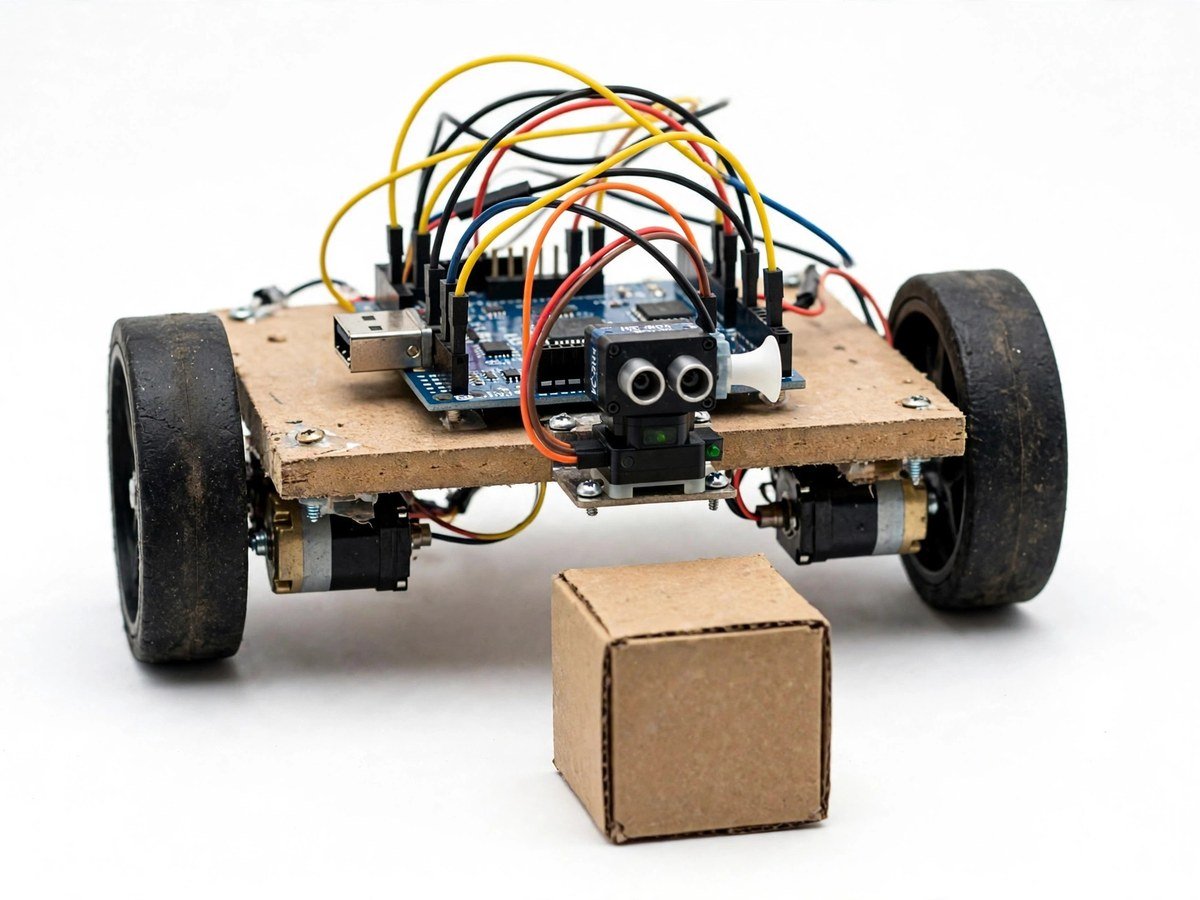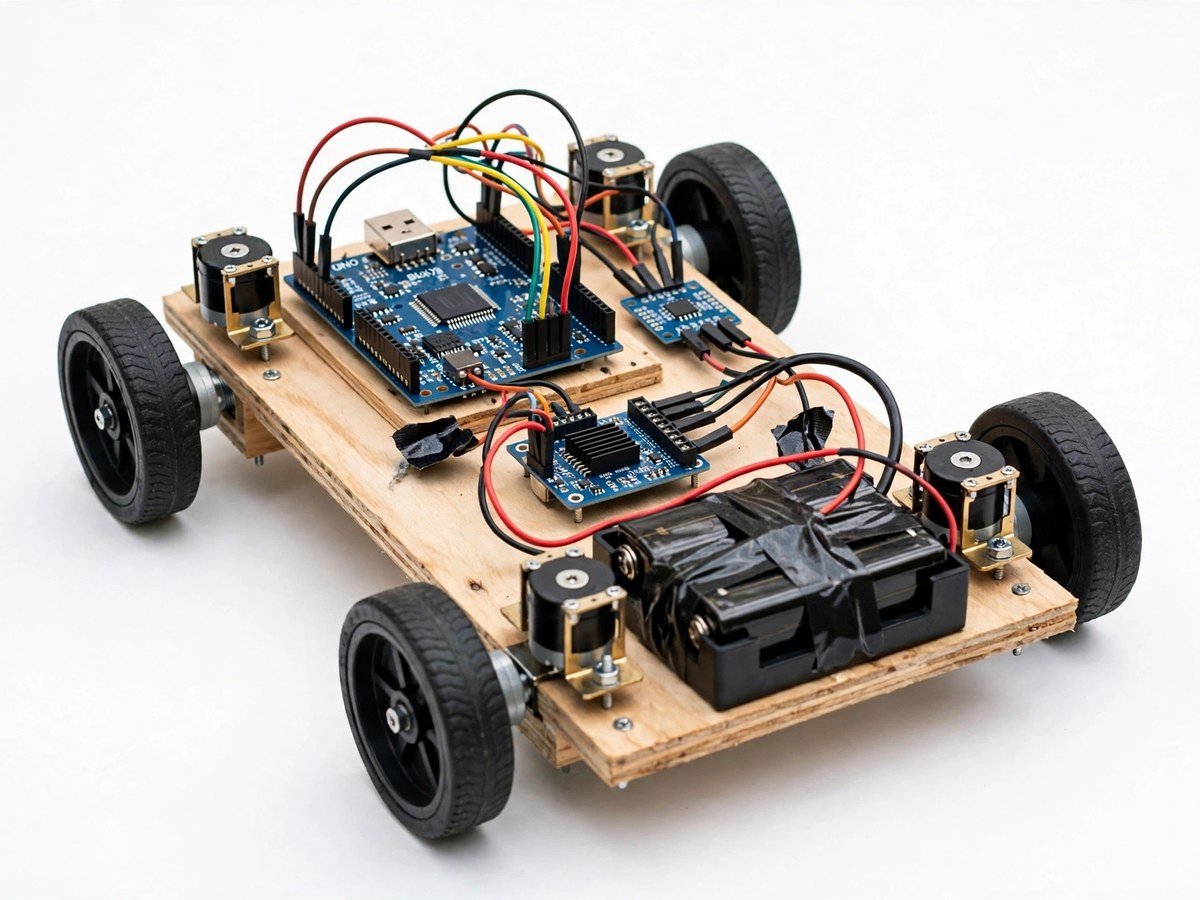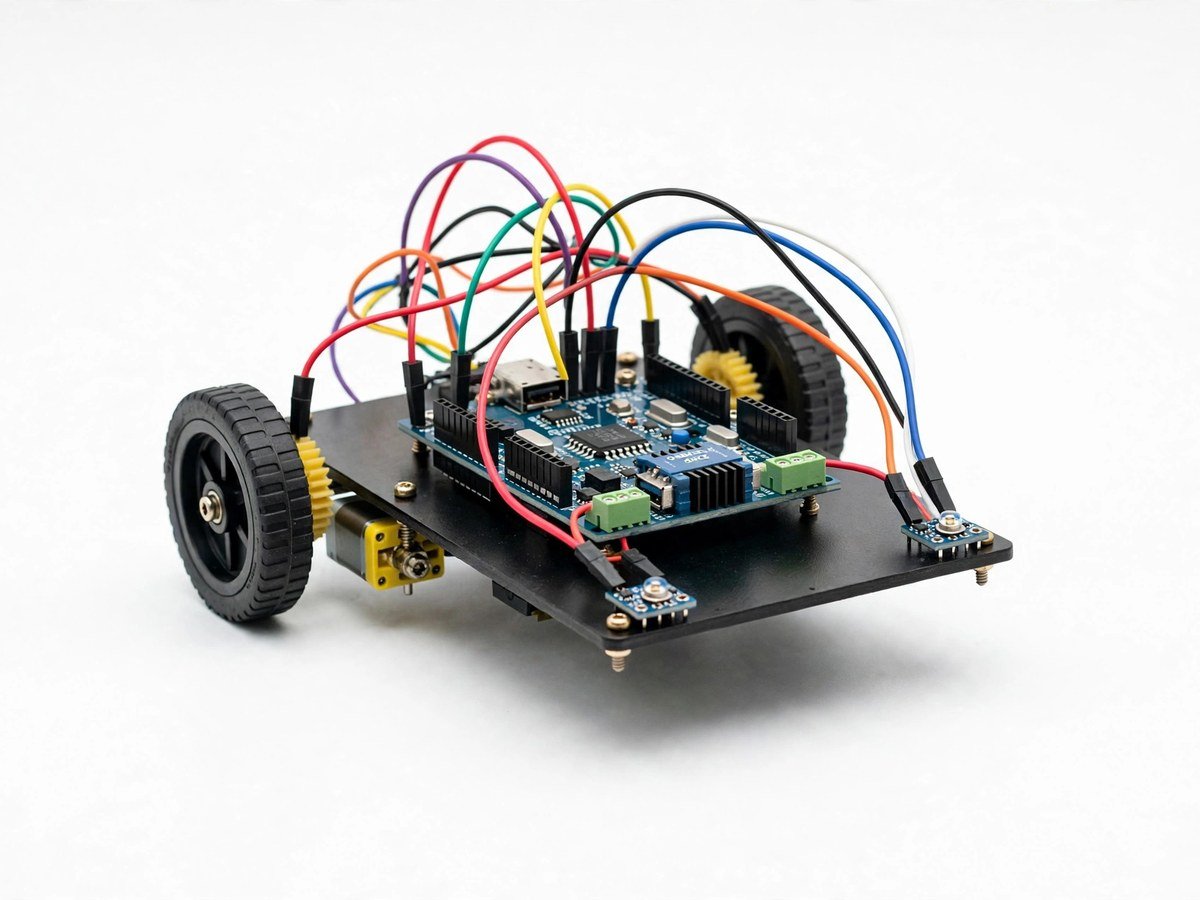
More kit photos (2)
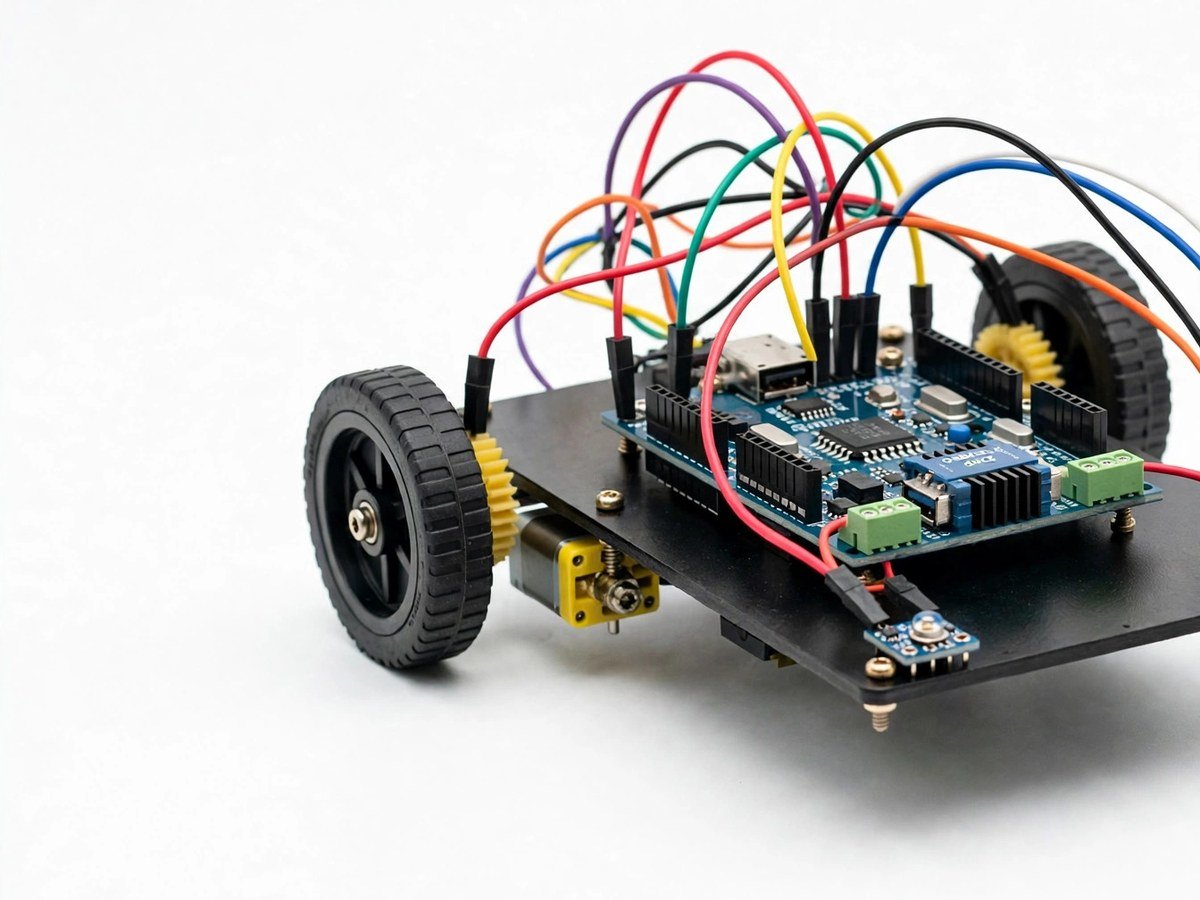

Build time: 60–90 minutes, teacher-led · Soldering: No
The Problem
Most classroom robots follow a line or avoid a wall, and students learn those rules by heart without ever asking what a robot compares. A light seeker asks a different question: given two readings, left and right, which side is brighter, and by how much? The robot answers by turning towards the brighter side, and the class can see the rule working with a torch in a darkened room. When one sensor is covered, the rule breaks in an instructive way, because the robot now compares a real reading with a blocked one. That comparison idea — read both sides, turn towards the larger value — is the same logic behind the line follower, but here the class can move the target itself, which makes the lesson feel like an experiment rather than a demonstration.
How It Works
- Fix the two BO motors and wheels to the chassis and mount the battery holder, so the robot is a rolling base before any wiring starts.
- Mount the two LDR modules at the front, one on each side, facing forward and slightly outward.
- Connect the LDR modules and the motors to the motor driver and the board, following the included wiring guide, one wire at a time.
- Upload the ready code. No code needs to be written to run the first test.
- In a dim room, shine a torch on the left side and check that the robot turns left, then repeat on the right.
- Move the torch slowly across the front of the robot and watch it follow the light.
- Cover one sensor with a hand and discuss, as a class, why the robot now turns the wrong way.
- Pack the kit back in its box with the sensors protected, so the next class starts from a working robot.
Features
- Two LDR modules, one on each side, so the robot can compare left and right brightness.
- Two-motor drive through a motor driver, so each wheel can be slowed or stopped on its own.
- A torch-following test the teacher can run in a dim room with no extra equipment.
- A visible failure mode: a covered sensor makes the robot turn the wrong way, which is itself a teaching point.
- Breadboard and pre-wired modules only, so the classroom build needs no soldering.
What Is Included
- Arduino-compatible board
- 2 LDR modules
- Motor driver
- 2 BO motors + wheels
- Chassis
- Battery holder
- Jumper wires
Every pack also includes: all parts tested before dispatch; step-by-step assembly guide in English and Marathi; ready code where code is needed; a teacher guide with 3 classroom activities, common mistakes, and answers; spare jumper wires and a spare sensor or LED where the part is fragile; and WhatsApp support for the teacher.
Demo video: no video link is shown on this page yet. A demo video link will be added here only when a real video for this kit exists.
Tech Stack
- Arduino-compatible board
- LDR modules × 2
- Motor driver
- BO motors × 2
- Robot chassis
Specifications
| Parameter | Value |
|---|---|
| Controller | Arduino-compatible board |
| Main sensors | 2 LDR modules, front-mounted, left and right |
| Drive | 2 BO motors + wheels, motor driver |
| Power | Battery holder (batteries as supplied in the pack) |
| Build time | 60–90 minutes, teacher-led |
| Soldering | No |
| Coding level | Ready code; block-style explanation included |
| Phone or computer needed | Computer only to upload the ready code once |
| Wi-Fi needed | No |
Limitations
- The robot follows the brightest light in front of it. In a bright room or in direct sunlight, both sensors read high and the robot may wander or stop turning clearly. Run the first tests in a dim room.
- The robot has no obstacle sensing. It will drive into a wall, a foot, or a stair edge if driven there, so it must only be used on a flat, clear floor.
- This is a classroom demonstration, not a transport or navigation device. It must not be used near stairs, roads, or moving vehicles.
- Sensor position matters. If the sensors point at the floor or at each other instead of forward, the comparison will be wrong even with correct code.
Frequently Asked Questions
Do students need to know coding to run this kit?
No. The ready code is included and uploaded once. The class can run the robot, then discuss the compare-and-turn rule.
What if the robot does not turn towards the light?
Check that the room is dim enough, that both sensors face forward, and that neither sensor is covered. Those three checks fix most first-run failures.
How is this different from the line follower kit?
The line follower reacts to a dark line under it. This robot compares brightness on its left and right and turns towards the brighter side.
Is soldering needed?
No. The classroom version uses a breadboard and pre-wired modules.