More kit photos (2)
Build time: 60–90 minutes, teacher-led · Soldering: No
The Problem
In most classrooms, sensors and motors stay as diagrams in a textbook. Students can name an IR sensor, but they have never watched one change a motor. That gap shows up later: the same students struggle to debug a real build because they have never seen a sensor reading turn into an action. A line follower closes that gap in one period. The robot has a clear job, a clear failure mode, and a clear fix. When it leaves the line, the class can see which sensor lost the line and which motor should have slowed down. It is the simplest honest robot a teacher can run, and it gives every later kit — obstacle avoidance, distance sensing, wireless control — a shared starting point the class has actually built.
How It Works
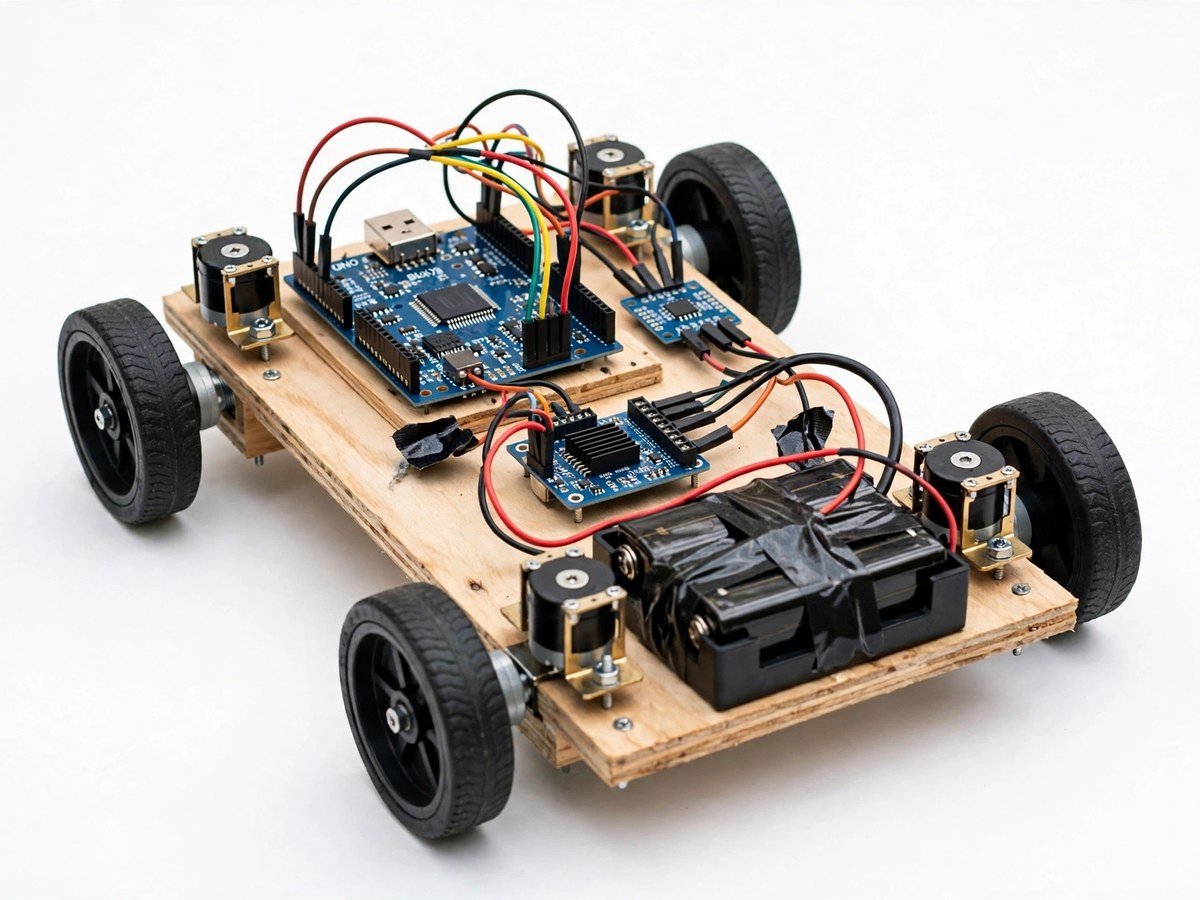
- Fix the two BO motors and wheels to the chassis and mount the battery holder, so the robot is a rolling base before any wiring starts.
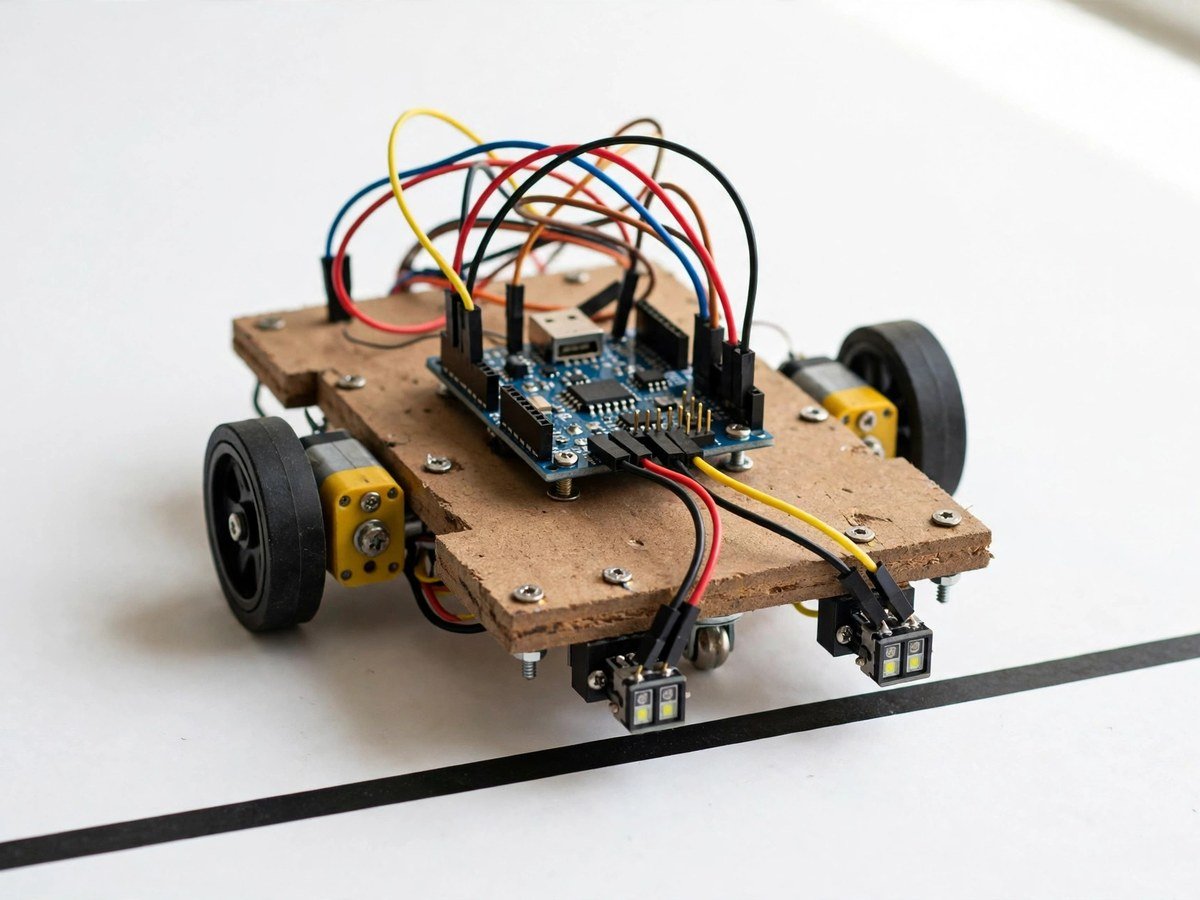
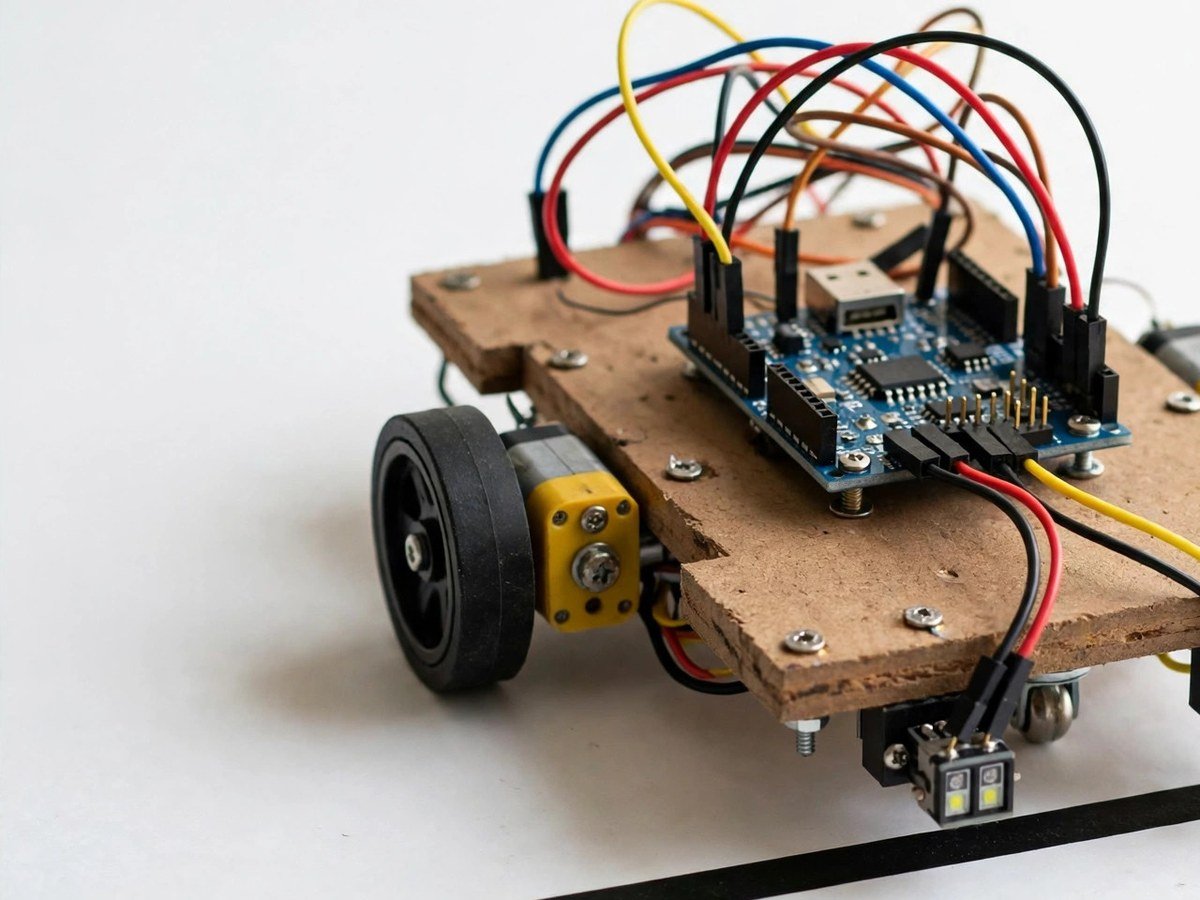
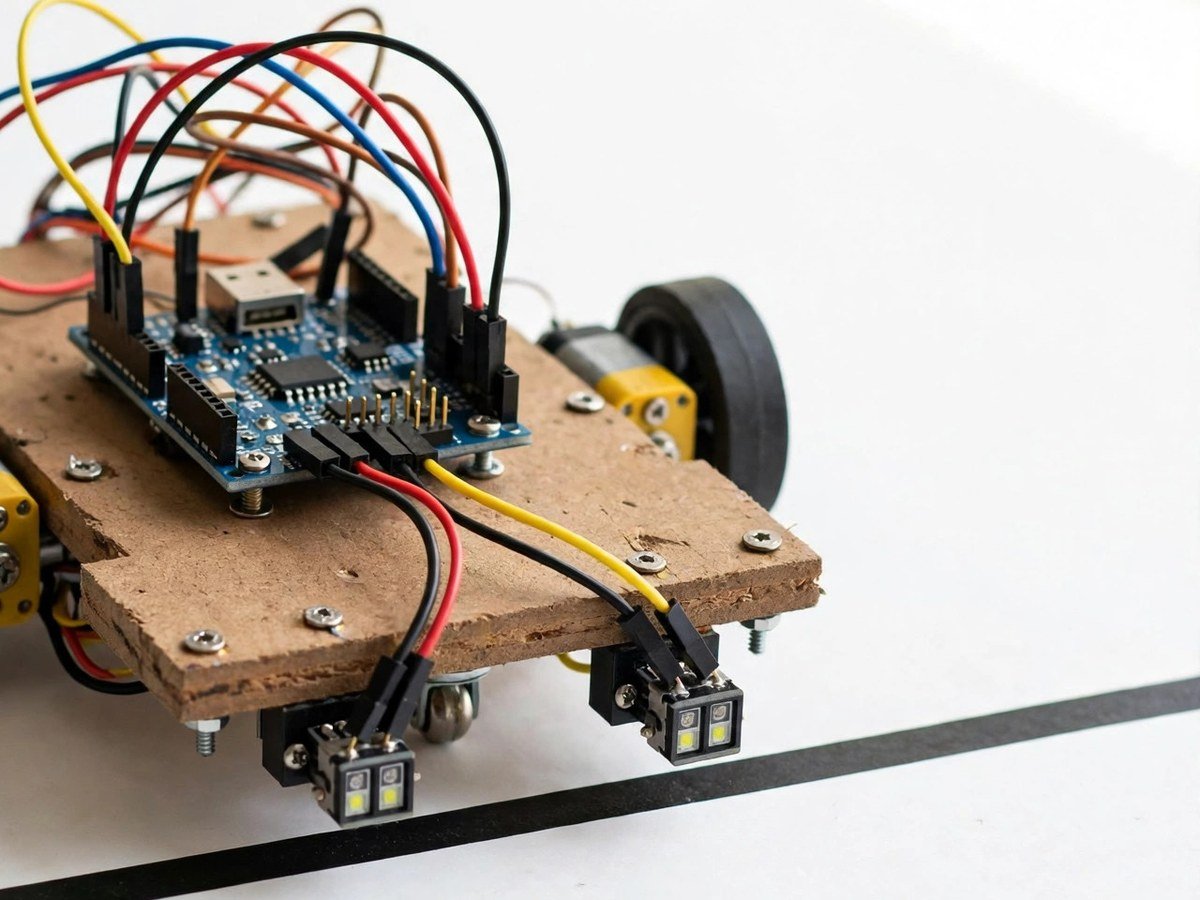
- Mount the two IR sensors at the front, facing down, close to the floor and on either side of the line the robot must follow.
- Connect the IR sensors and the motors to the motor driver and the board, following the included wiring guide, one wire at a time.
- Upload the ready code. No code needs to be written to run the first test.
- Place the robot on a straight black line on a light floor and check that each sensor reads the line and the floor differently.
- Run the curve test. If the robot turns too late, adjust the sensor height and spacing, then test again.
- Run the broken-line test and discuss, as a class, why a gap in the line breaks the rule the robot follows.
- Pack the kit back in its box with the sensors protected, so the next class starts from a working robot.
Features
- Two IR sensors that read line versus floor, so the robot can tell where the line is.
- Two-motor drive through a motor driver, so each wheel can be slowed or stopped on its own.
- Ready code, so the first run needs no programming from students.
- A visible failure mode: a broken or faint line makes the robot stop or wander, which is itself a teaching point.
- Breadboard and pre-wired modules only, so the classroom build needs no soldering.
What Is Included
- Arduino-compatible board
- 2 IR sensors
- Motor driver
- 2 BO motors + wheels
- Chassis
- Battery holder
- Jumper wires
Every pack also includes: all parts tested before dispatch; step-by-step assembly guide in English and Marathi; ready code where code is needed; a teacher guide with 3 classroom activities, common mistakes, and answers; spare jumper wires and a spare sensor or LED where the part is fragile; and WhatsApp support for the teacher.
Demo video: no video link is shown on this page yet. A demo video link will be added here only when a real video for this kit exists.
Tech Stack
- Arduino-compatible board
- IR sensors × 2
- Motor driver
- BO motors × 2
- Robot chassis
Specifications
| Parameter | Value |
|---|---|
| Controller | Arduino-compatible board |
| Main sensors | 2 IR sensors, front-mounted, facing down |
| Drive | 2 BO motors + wheels, motor driver |
| Power | Battery holder (batteries as supplied in the pack) |
| Build time | 60–90 minutes, teacher-led |
| Soldering | No |
| Coding level | Ready code; block-style explanation included |
| Phone or computer needed | Computer only to upload the ready code once |
| Wi-Fi needed | No |
Limitations
- The robot follows a dark line on a light floor. It does not follow lines on a dark floor, and a faint or broken line will make it stop or wander.
- Bright sunlight on the floor can confuse the IR sensors. Run the first tests indoors on an even floor.
- This is a classroom demonstration, not a transport or navigation device. It must not be used near stairs, roads, or moving vehicles.
- Sensor height and spacing matter. If the sensors sit too high or too far apart, the robot will miss the line even with correct code.
Frequently Asked Questions
Do students need to know coding to run this kit?
No. The ready code is included and uploaded once. The class can run the robot, then change one rule at a time and watch what happens.
What if the robot does not follow the line?
Check sensor height and spacing first, then check that the line is dark and continuous on a light floor. Those two checks fix most first-run failures.
Can this kit be used without a computer lab?
A computer is needed once, to upload the ready code. After that the robot runs on its own battery, so the demonstration itself needs no lab.
Is soldering needed?
No. The classroom version uses a breadboard and pre-wired modules.