More kit photos (2)
Build time: 60–90 minutes · Soldering: No
The Problem
Students often learn distance as a number on a worksheet, then never use it to make anything happen. An obstacle avoider changes that: the robot must measure, decide, and act, in that order, every second. If the measurement is wrong, the decision is wrong, and the class sees the consequence immediately when the robot stops too late or turns into a wall. That chain — measure, decide, act — is the core idea behind almost every later robotics and automation build. This kit teaches it with one sensor, one servo, and two motors, in a form a teacher can run on a classroom floor without special equipment or a large budget.
How It Works
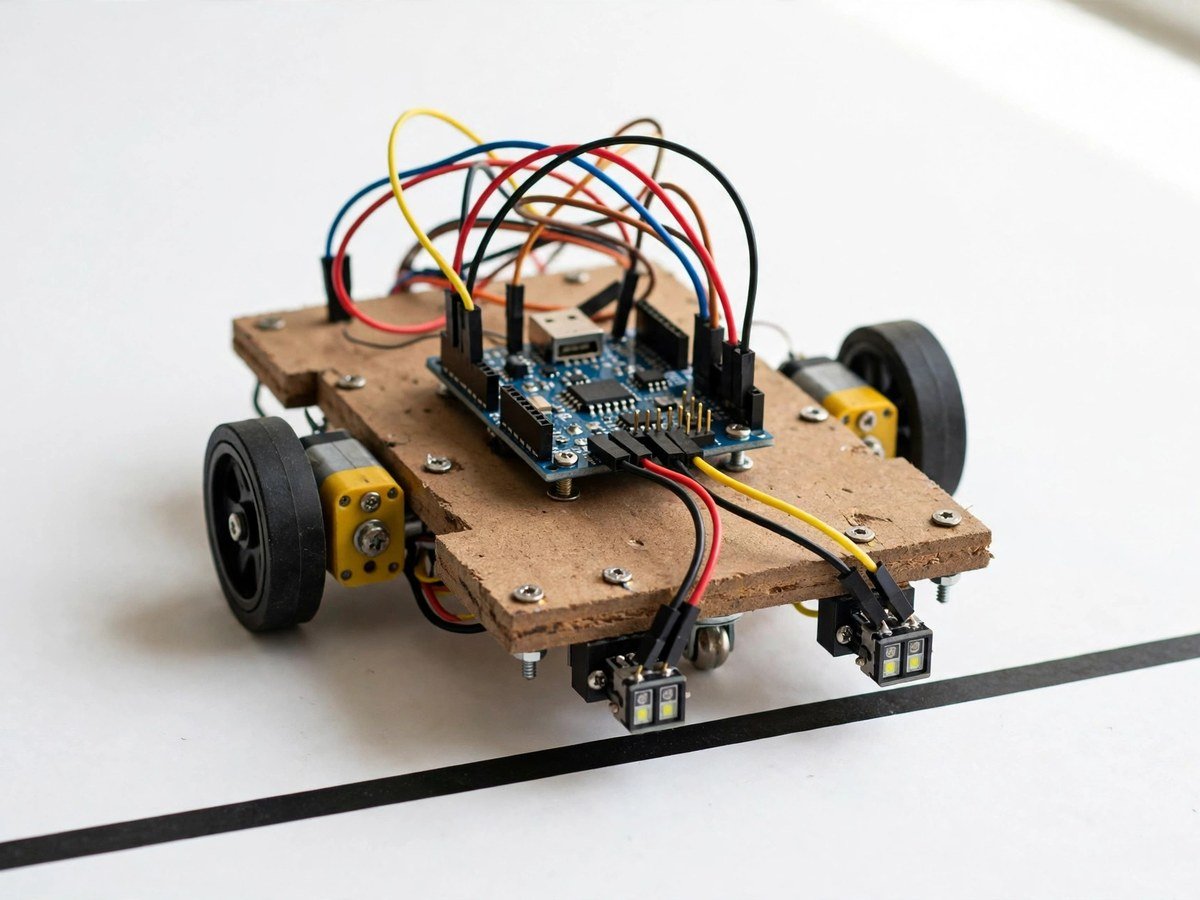
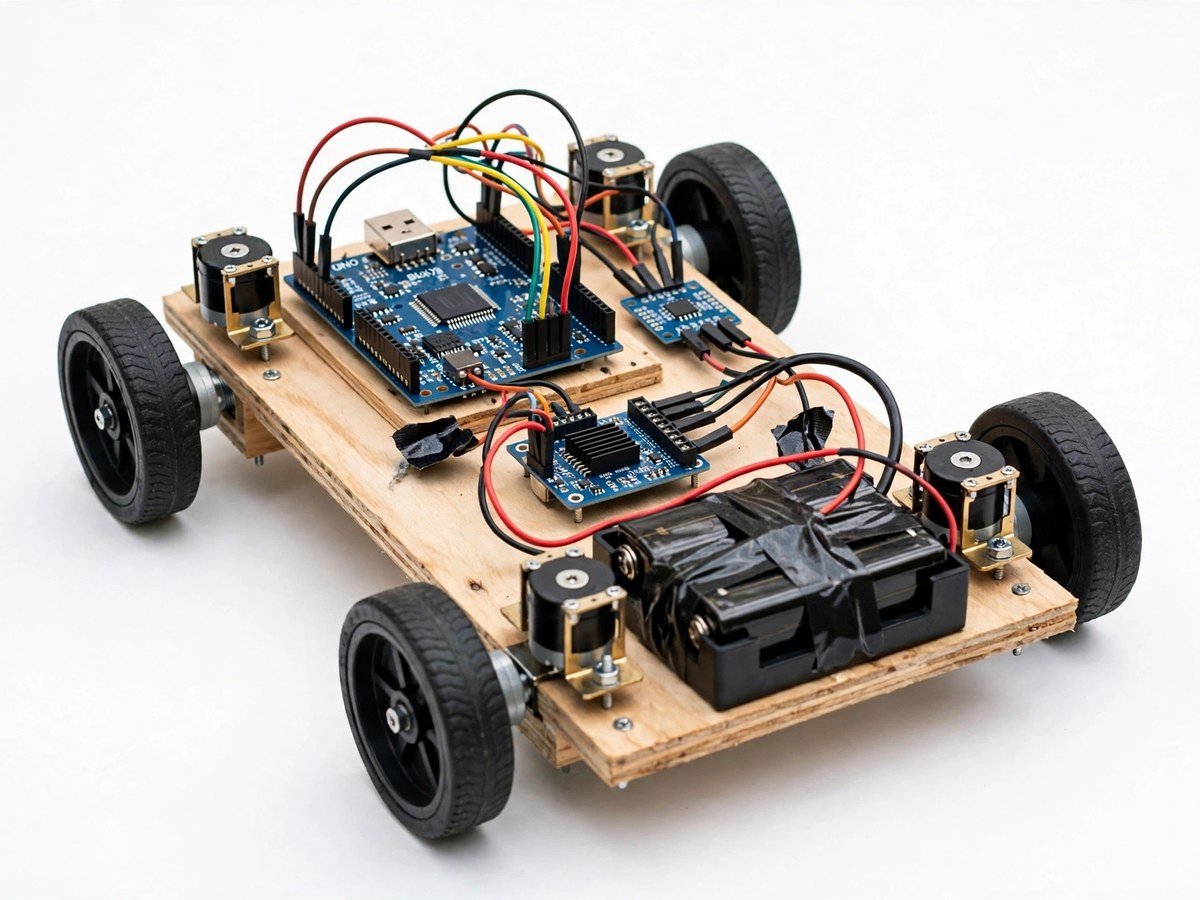
- Build the rolling chassis with two motors, wheels, and the battery holder, as in the line follower kit.
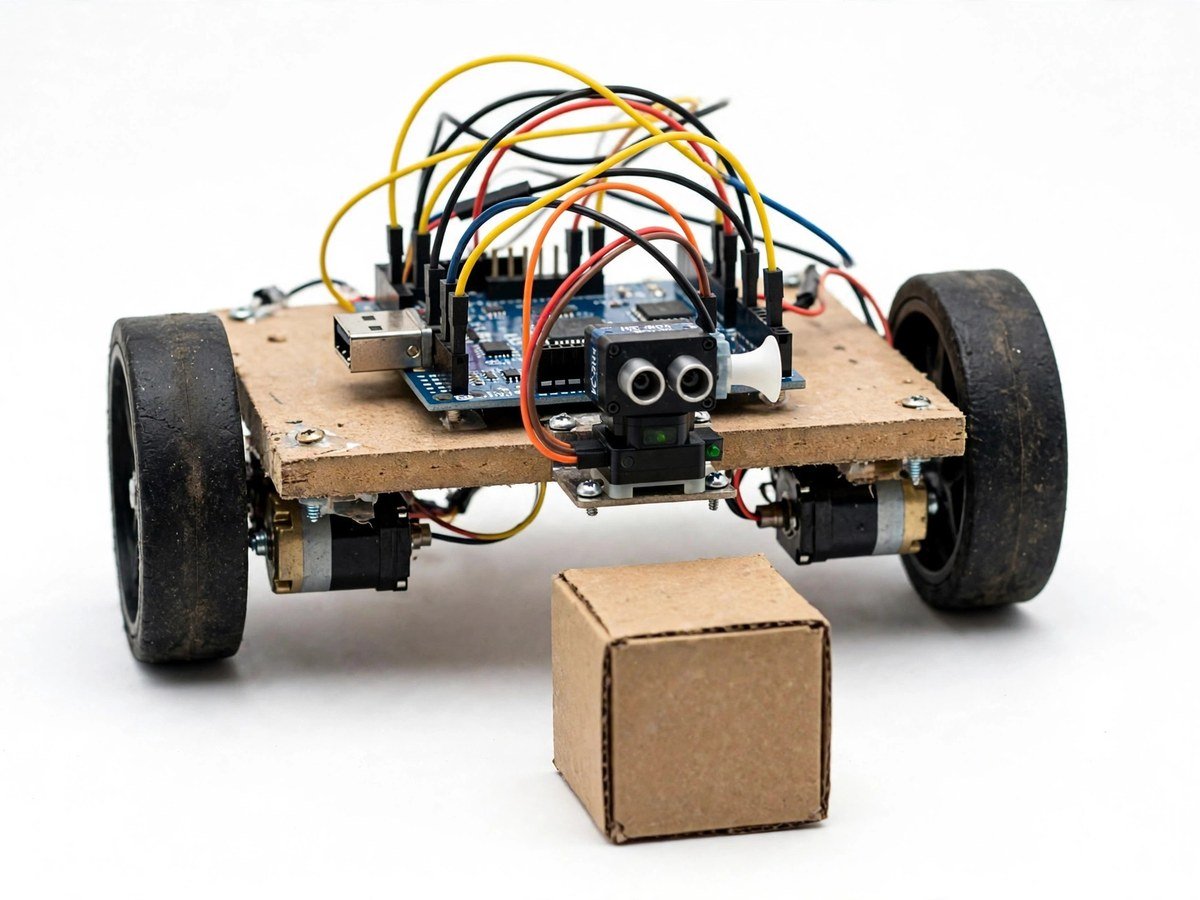
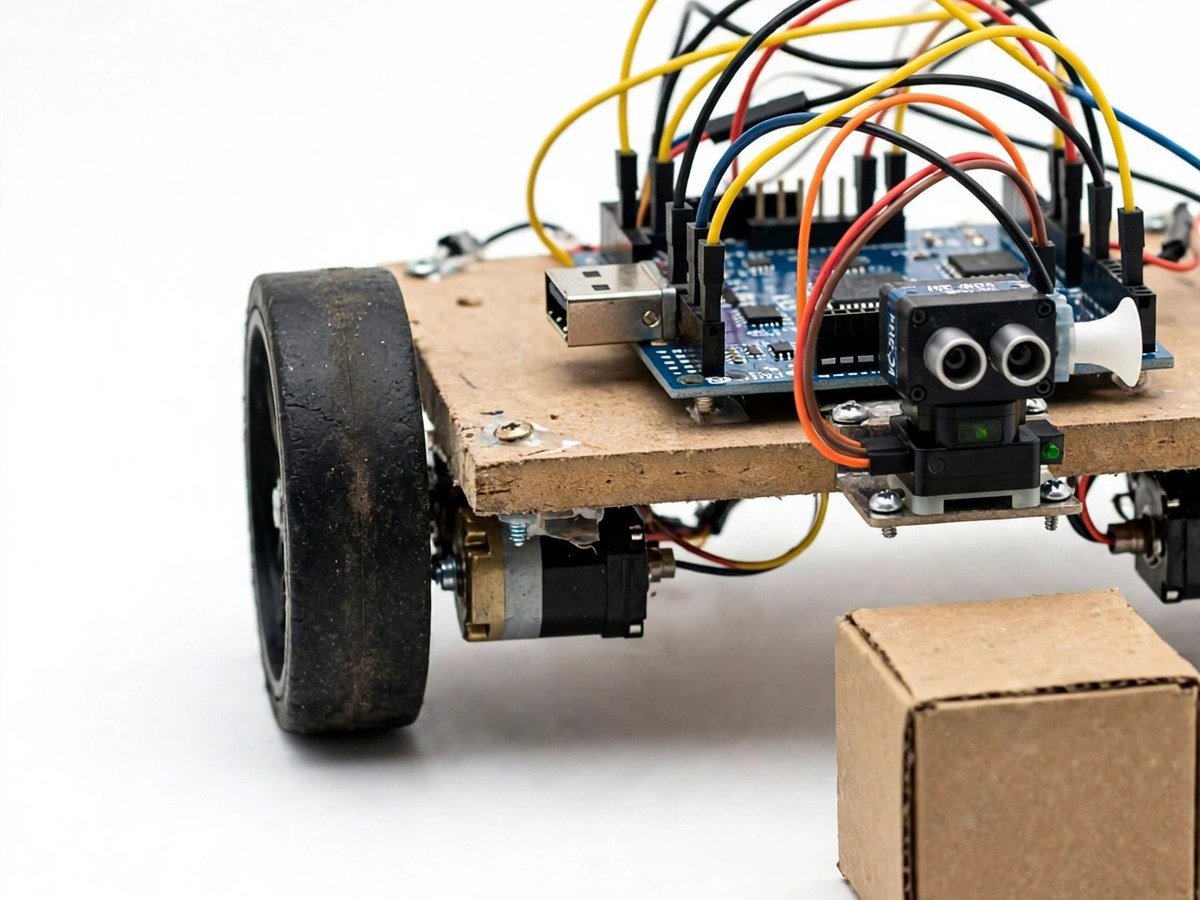
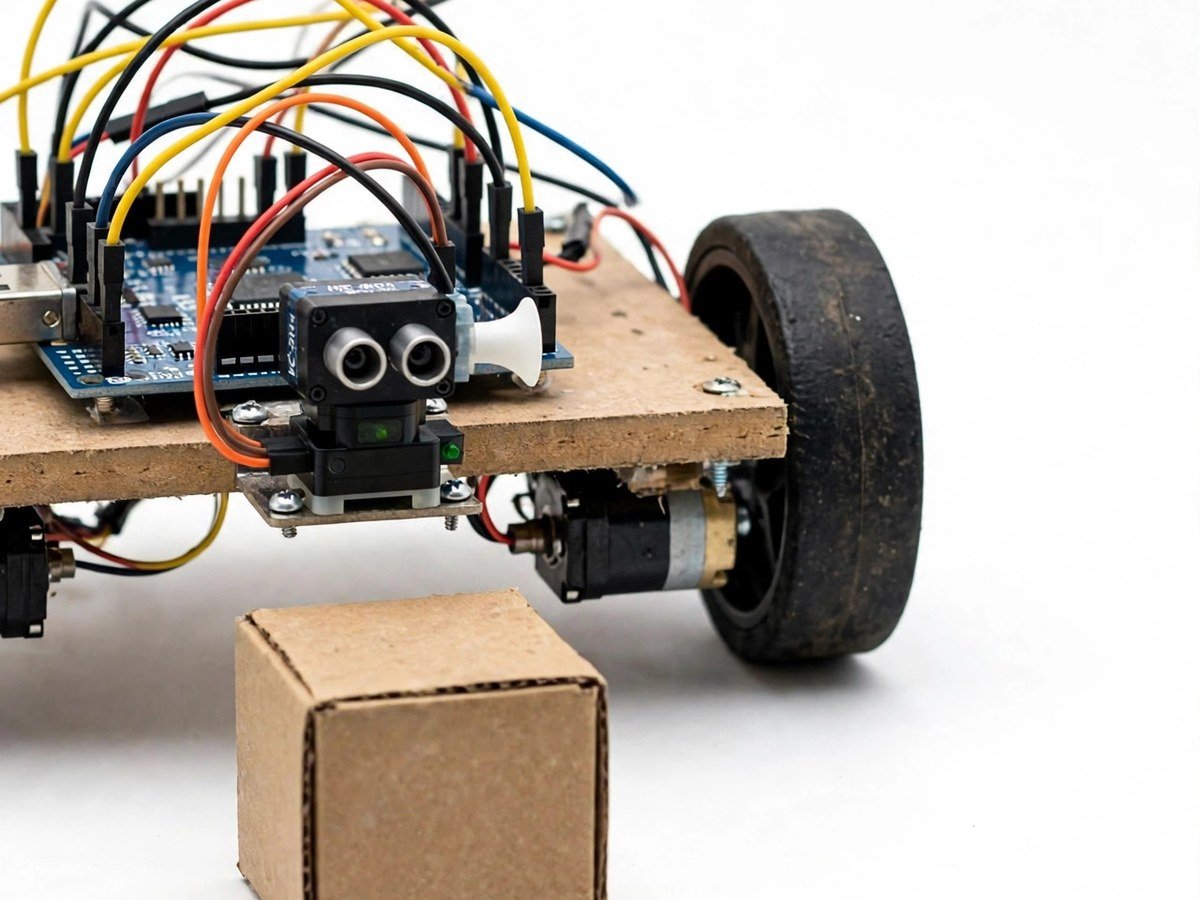
- Mount the ultrasonic sensor on the servo at the front, so the sensor can scan left, centre, and right.
- Connect the sensor, servo, and motors through the motor driver, following the included wiring guide.
- Upload the ready code. The three values students may safely change are safe distance, turn speed, and scan angle.
- Measure a known distance with a ruler, then compare it with the sensor reading at the same distance.
- Place a box in front of the robot and check that it stops at the safe distance instead of touching the box.
- Test the left-versus-right choice: block one side and watch which way the robot turns, then block the other side.
- Discuss what the robot cannot see: very soft surfaces, sharp angles, and objects below the sensor height.
Features
- Ultrasonic distance measurement, so the robot works in centimetres the class can check with a ruler.
- A scanning servo, so the robot can look left and right before choosing a direction.
- Three safe values students can change: safe distance, turn speed, and scan angle.
- Ready code, so the first run needs no programming from students.
- Breadboard and pre-wired modules only, so the classroom build needs no soldering.
What Is Included
- Arduino-compatible board
- Ultrasonic sensor
- Servo (for scanning)
- Motor driver
- 2 BO motors + wheels
- Chassis
- Battery holder
Every pack also includes: all parts tested before dispatch; step-by-step assembly guide in English and Marathi; ready code where code is needed; a teacher guide with 3 classroom activities, common mistakes, and answers; spare jumper wires and a spare sensor or LED where the part is fragile; and WhatsApp support for the teacher.
Demo video: no video link is shown on this page yet. A demo video link will be added here only when a real video for this kit exists.
Tech Stack
- Arduino-compatible board
- Ultrasonic sensor
- Servo motor
- Motor driver
- BO motors × 2
Specifications
| Parameter | Value |
|---|---|
| Controller | Arduino-compatible board |
| Main sensor | Ultrasonic sensor on a scanning servo |
| Drive | 2 BO motors + wheels, motor driver |
| Power | Battery holder (batteries as supplied in the pack) |
| Build time | 60–90 minutes |
| Soldering | No |
| Coding level | Ready code; 3 values students can safely change |
| Phone or computer needed | Computer only to upload the ready code once |
| Wi-Fi needed | No |
Limitations
- Ultrasonic sensing works best on flat, hard surfaces facing the sensor. Very soft, angled, or tiny objects may not be detected reliably.
- The sensor looks forward only. The robot cannot see obstacles at its sides or behind it.
- This is a classroom demonstration on a flat floor. It must not be used near stairs, roads, or moving vehicles.
- Distance readings vary with surface and angle. The class should always compare the reading with a ruler, not treat it as exact.
Frequently Asked Questions
Do students need to know coding?
No. Ready code is included. Students can change the safe distance, turn speed, and scan angle and watch the behaviour change.
Why does the robot sometimes miss an obstacle?
Soft surfaces, sharp angles, and objects below the sensor height reflect sound poorly. That is a real sensor limit, and a good classroom discussion.
How is this different from the line follower kit?
The line follower reacts to a line under it. This robot measures distance ahead of it and decides a direction before it reaches an obstacle.
Is soldering needed?
No. The classroom version uses a breadboard and pre-wired modules.