More kit photos (2)
Build time: 45–60 minutes · Soldering: No
Safety note: classroom demo only — no real gas is used, ever. The alarm is tested only with a teacher-supervised safe test source named in the teacher guide, never with a gas cylinder, a lighter, or a stove.
The Problem
Gas leaks are dangerous precisely because they are hard to notice, and that makes them a difficult topic to teach safely in a classroom. A teacher cannot, and must not, release real gas to show a sensor working. This kit solves that teaching problem honestly: the same MQ-series sensor, buzzer, red LED and display as a real detector, run as a classroom demo with a safe test source only. Students watch the reading rise, cross a threshold the class chose, and fire the alarm, then watch it fall again in clean air. That visible rise and fall teaches the core idea — a sensor reading, a threshold, and an alarm that fires only above it — without ever pretending the demo is a safety device for a real kitchen.
How It Works
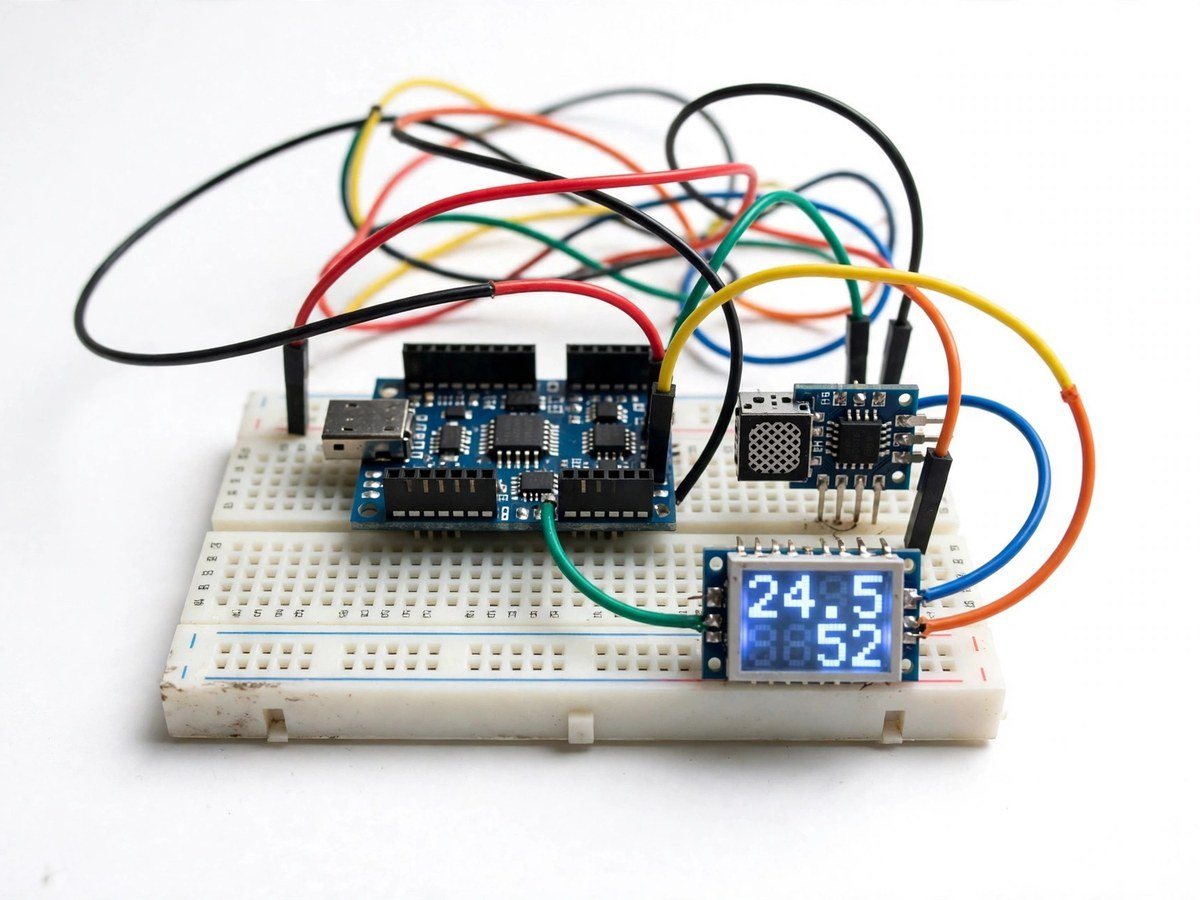
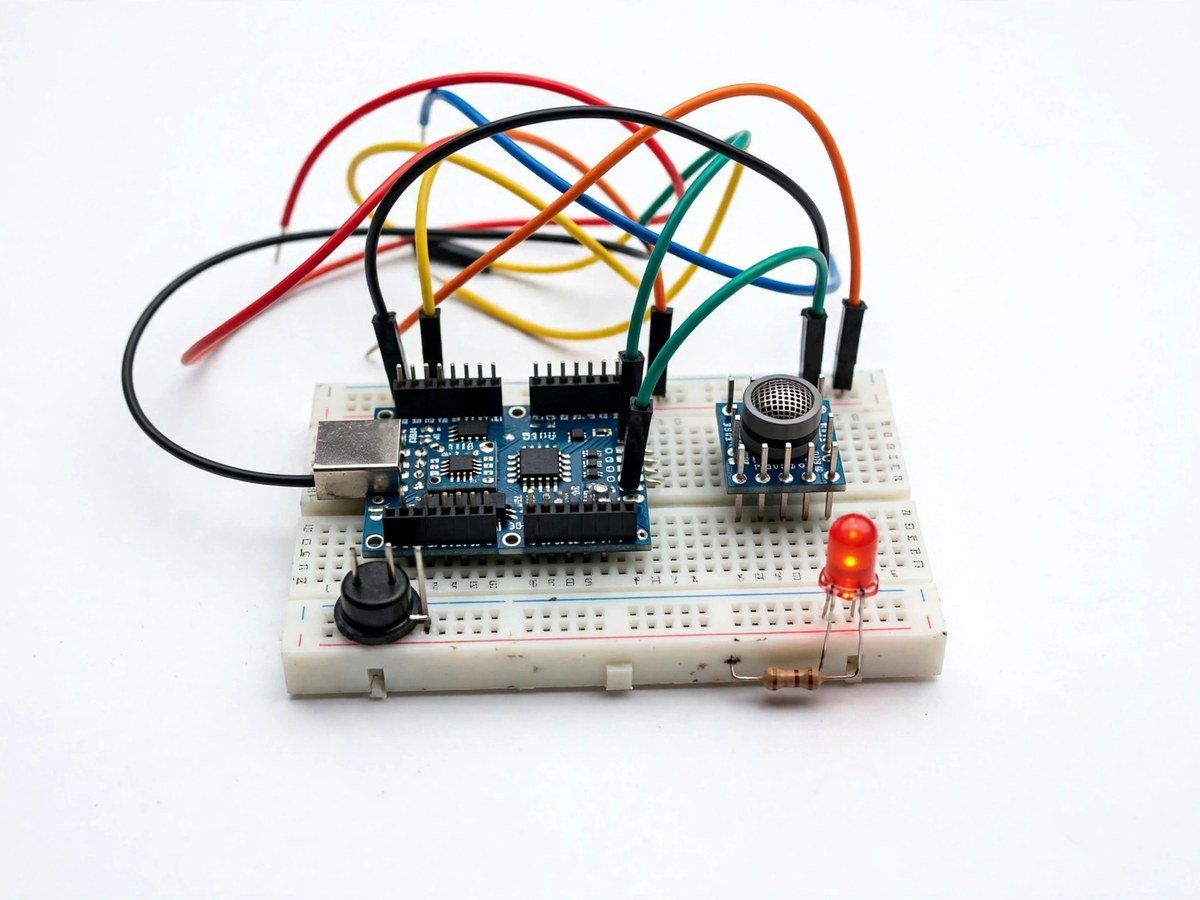
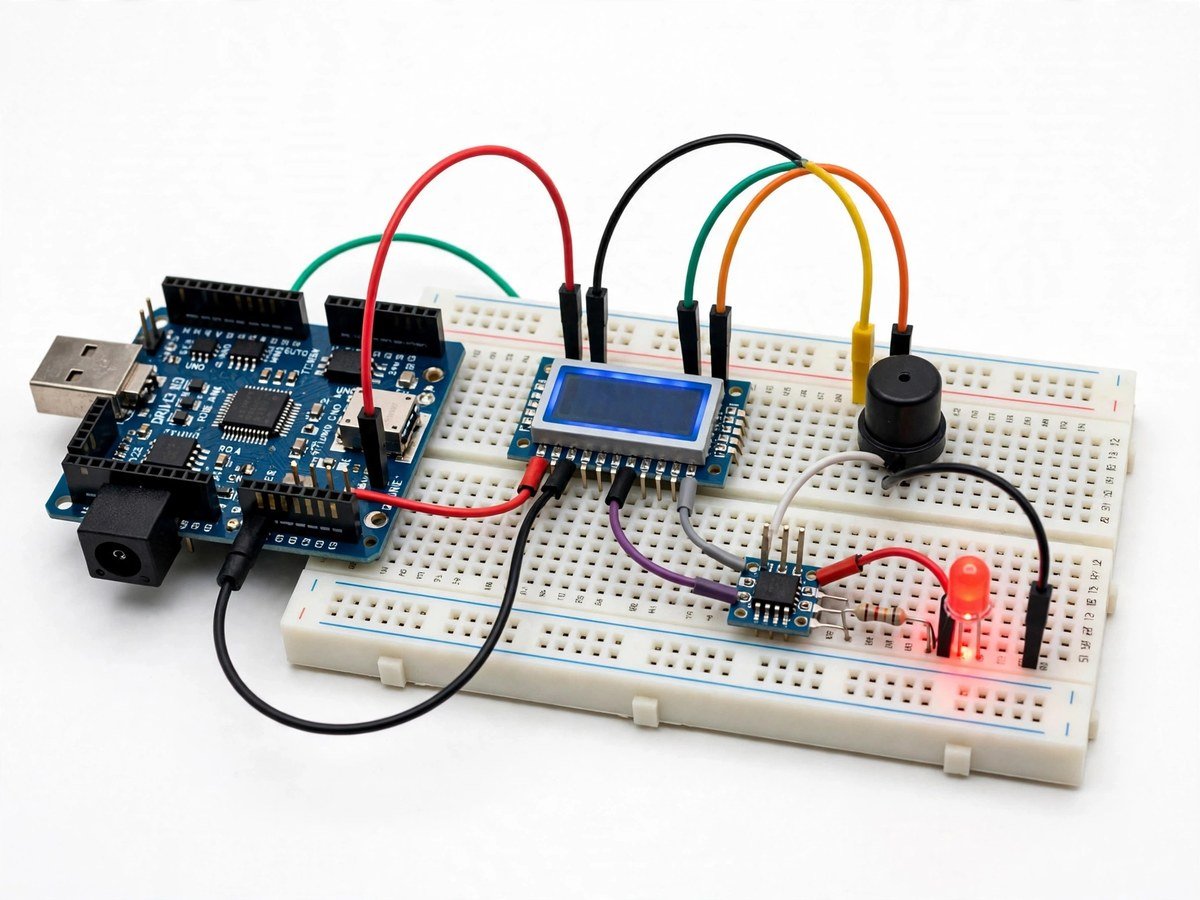
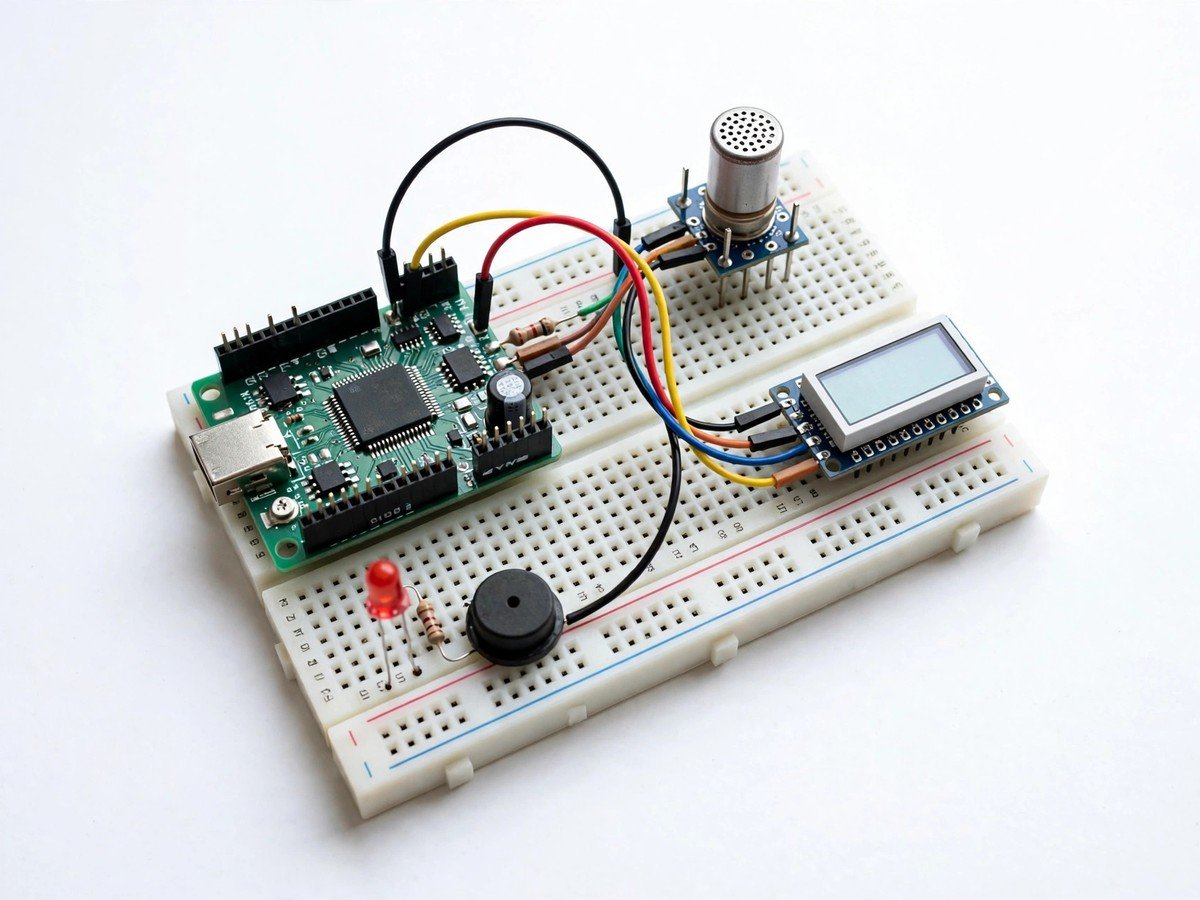
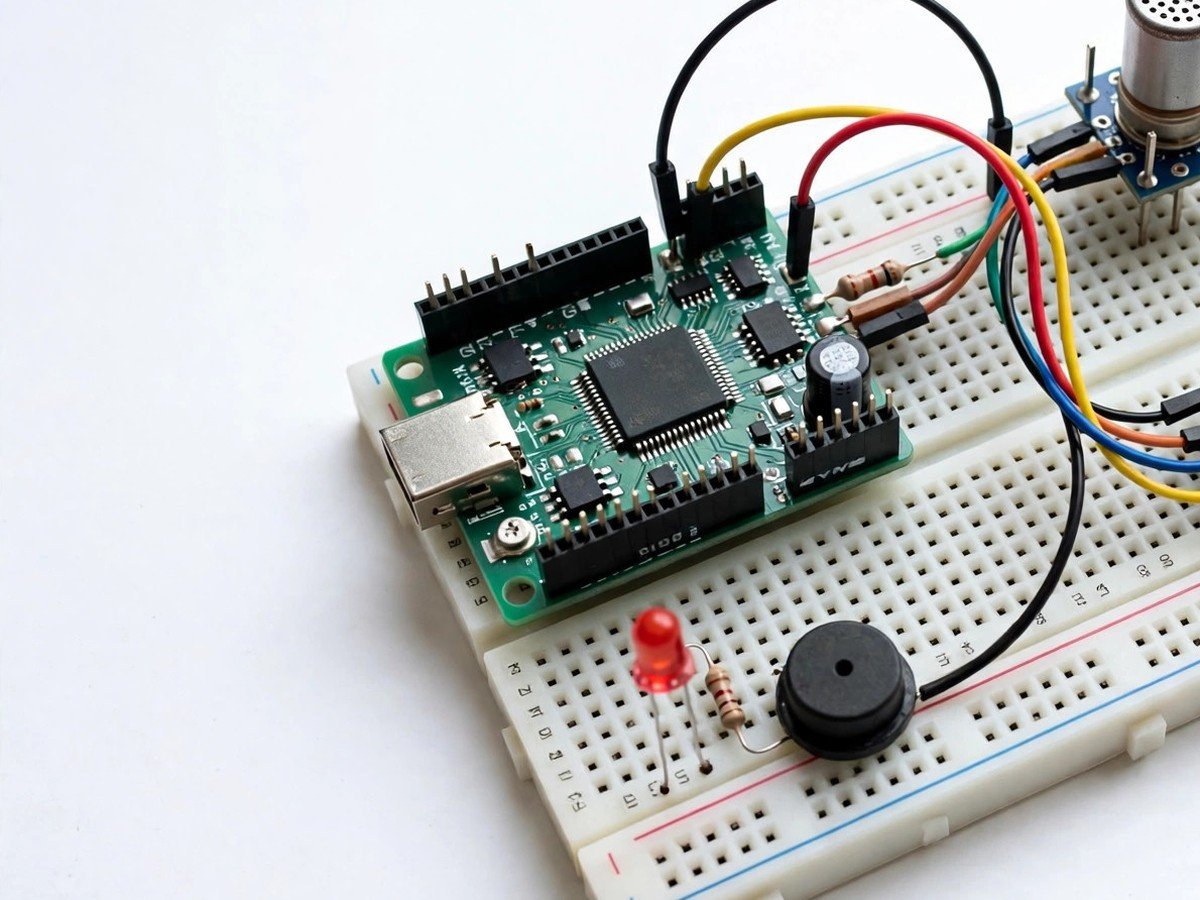
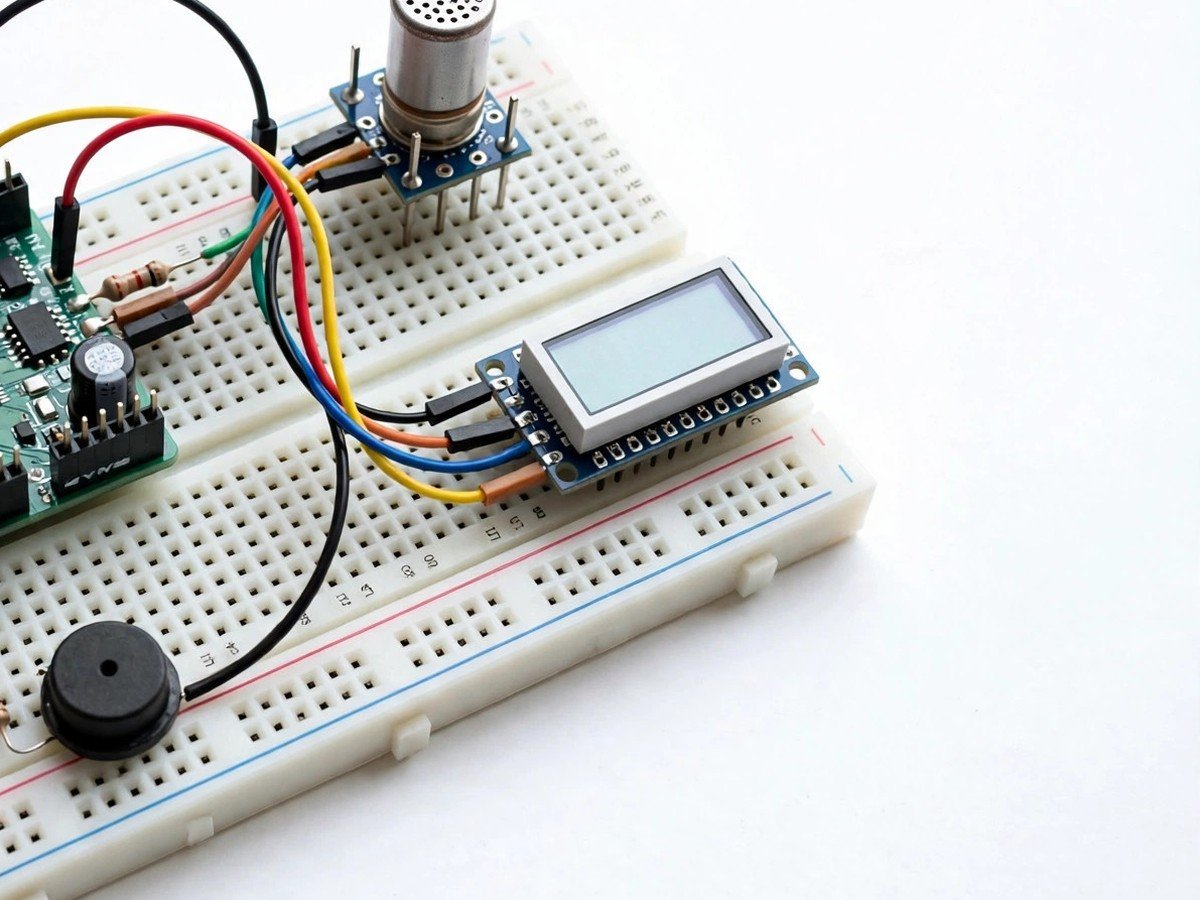
- Connect the MQ-series gas sensor module, LCD display, buzzer, and red LED to the board through the breadboard, following the wiring guide.
- Upload the ready code and check that the display shows a low, steady reading in clean air.
- Let the sensor warm up as the guide directs, and check that the clean-air reading settles before any test.
- Set the alarm threshold as a class decision: high enough to stay silent in clean air, low enough to fire on the test source.
- With the teacher supervising, bring the safe test source near the sensor and watch the reading rise and the alarm fire.
- Remove the test source and watch the reading fall and the alarm stop, then discuss why a real detector must also recover cleanly.
- Test the edges as a class: a brief puff versus a longer exposure, and a sensor placed far from the source versus close to it.
- Switch the kit off, put the test source away, and record the agreed classroom response steps for a real alarm.
Features
- An MQ-series gas sensor module, so the class works with the same sensor type used in real detectors.
- An LCD display showing the reading live, so the rise, the threshold crossing, and the recovery are all visible.
- A buzzer and red LED that fire together above the threshold, so the alarm is heard as well as seen.
- A class-set alarm threshold, so students decide what counts as an alarm condition.
- Breadboard build only, so the classroom build needs no soldering.
What Is Included
- Arduino-compatible board
- MQ-series gas sensor module
- Buzzer
- Red LED
- LCD display
- Breadboard
- Jumper wires
Every pack also includes: all parts tested before dispatch; step-by-step assembly guide in English and Marathi; ready code where code is needed; a teacher guide with 3 classroom activities, common mistakes, and answers; spare jumper wires and a spare sensor or LED where the part is fragile; and WhatsApp support for the teacher.
Demo video: no video link is shown on this page yet. A demo video link will be added here only when a real video for this kit exists.
Tech Stack
- Arduino-compatible board
- MQ-series gas sensor module
- LCD display
- Buzzer
- Red LED
Specifications
| Parameter | Value |
|---|---|
| Controller | Arduino-compatible board |
| Main sensor | MQ-series gas sensor module |
| Display | LCD display, live reading |
| Alarm outputs | Buzzer + red LED above the class-set threshold |
| Power | Board power as supplied in the pack |
| Build time | 45–60 minutes |
| Soldering | No |
| Coding level | Ready code; alarm threshold is set as a class decision |
| Phone or computer needed | Computer only to upload the ready code once |
| Wi-Fi needed | No |
Limitations
- This is a classroom demonstration only. It is not a gas safety device, and it must never be fitted in a real kitchen, near a real cylinder, or relied on to warn about a real leak.
- No real gas is used, ever. The demo is tested only with a teacher-supervised safe test source named in the teacher guide — never a gas cylinder, a lighter, or a stove.
- MQ-series sensors respond to several vapours, not only one gas, so the demo cannot identify which gas is present. A real detector and a trained technician are needed for any real suspected leak.
- The sensor needs warm-up time after power-on, and its clean-air reading drifts with the room. The class must let it settle before setting a threshold, or the alarm will fire on room air.
Frequently Asked Questions
Do students need to know coding?
No. Ready code is included. The class decision is the alarm threshold.
Why must no real gas be used?
Releasing real gas in a classroom is dangerous and unnecessary. The sensor, threshold, and alarm all work with a safe test source, which is what the kit is designed for.
Can this kit protect a real kitchen?
No. It is a classroom demonstration only. It must never be relied on as a real gas safety device.
Is soldering needed?
No. The classroom version uses a breadboard and a pre-wired sensor module.