More kit photos (2)
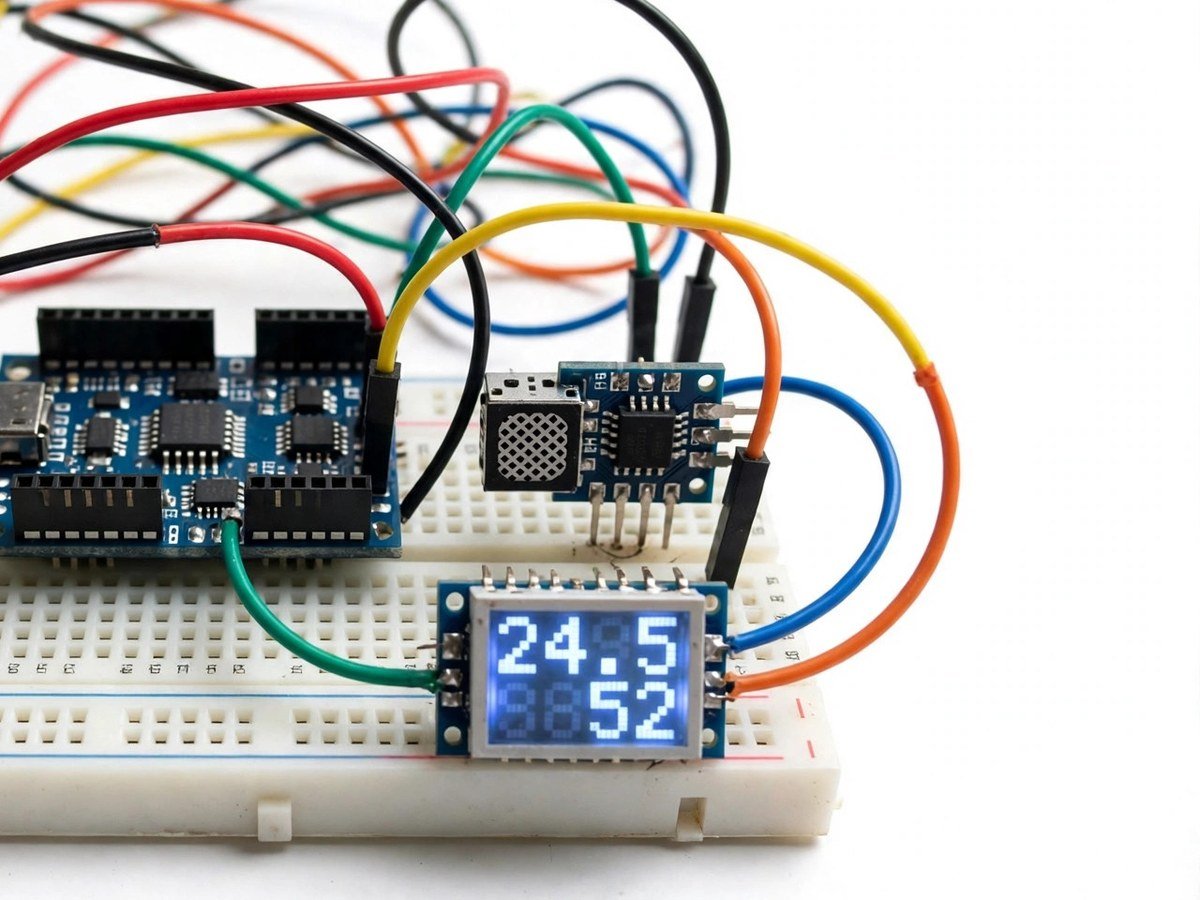
Build time: 45–60 minutes · Soldering: No
The Problem
Weather is taught from tables, but students rarely collect a single reading themselves. That makes temperature and humidity feel like numbers someone else produced, and it hides the most useful lesson: measurements change with time, place, and method, and a single reading proves very little. A classroom weather station fixes that by staying in the room. The class reads it in the morning and in the afternoon, inside and outside, and keeps a log for five days. Patterns appear that no worksheet can show — afternoons warmer, a crowded room more humid — and the class learns to ask whether a reading is a real change or a sensor placed in sunlight. That habit is worth more than the device itself.
How It Works
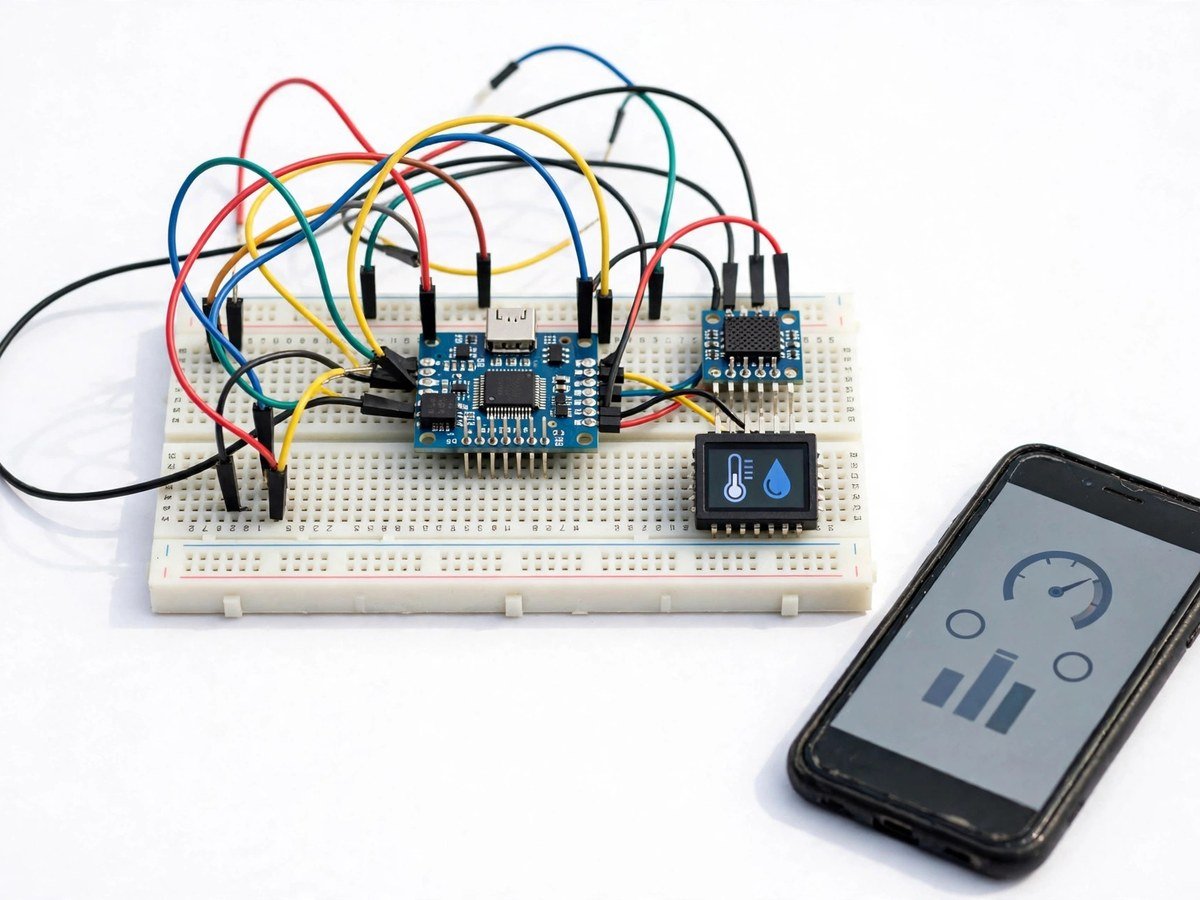
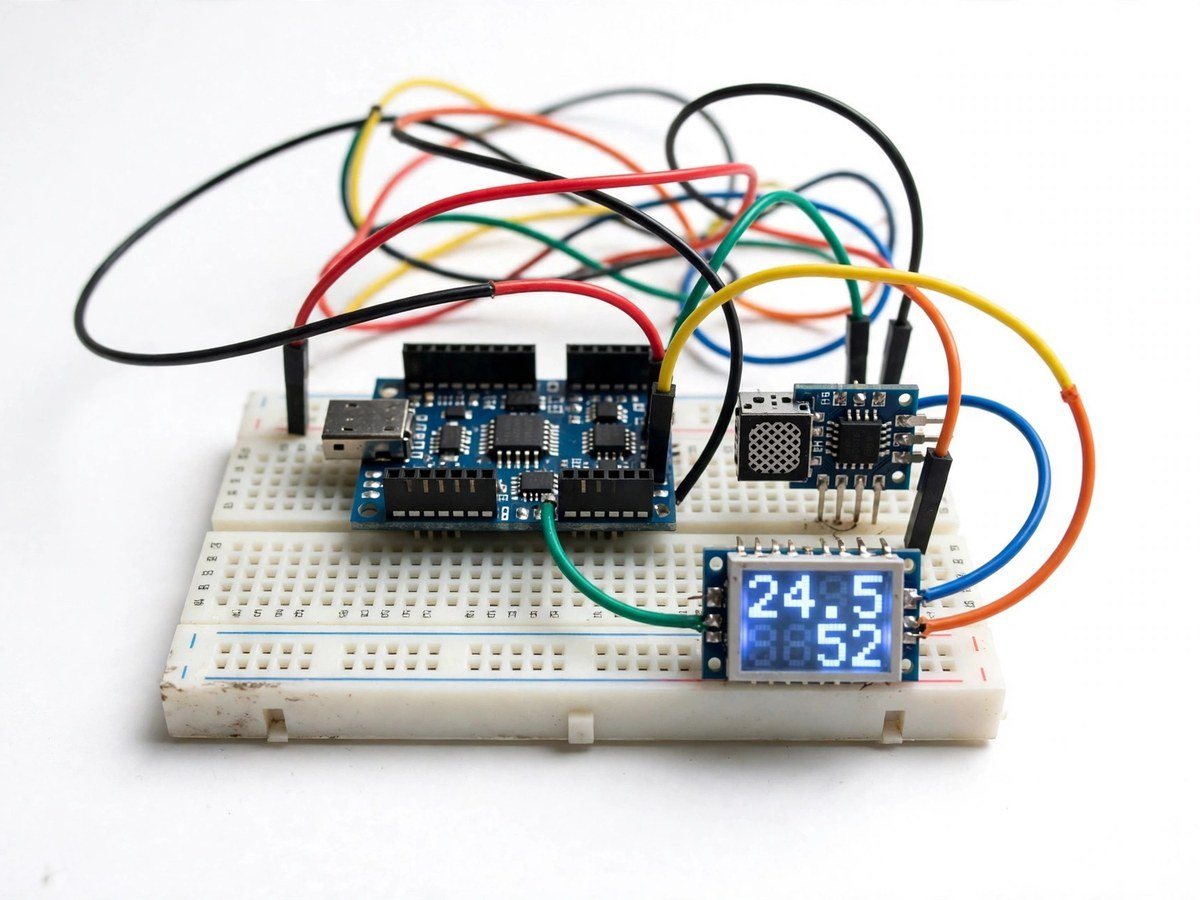
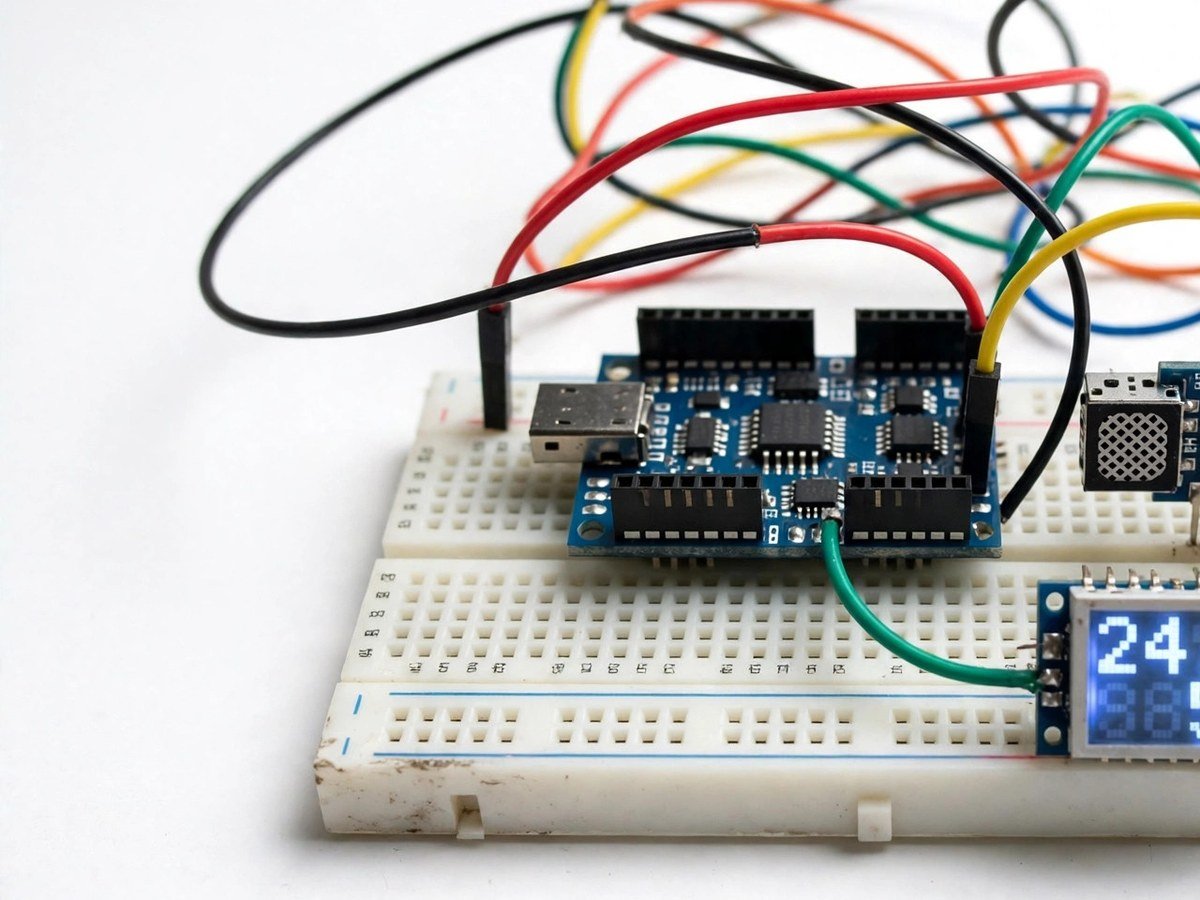
- Connect the DHT11 temperature and humidity sensor and the LCD display to the board, following the wiring guide.
- Upload the ready code and check that temperature and humidity appear on the display.
- Take a first reading in the classroom and write it down with the time and place.
- Take a second reading outside, in shade, and compare it with the classroom reading.
- Repeat morning and afternoon readings for five days and keep the log in one notebook.
- Plot the five days as a class and look for morning-to-afternoon and day-to-day patterns.
- Discuss the odd readings: a sensor in direct sun, near a door, or in a crowded room will read differently, and that is a measurement lesson, not a fault to hide.
- Pack the sensor and display back carefully, as the display is the most fragile part of this kit.
Features
- Temperature and humidity sensing with a DHT11 sensor, shown live on an LCD.
- A five-day log activity, so the kit keeps working after the build day.
- Inside-versus-outside and morning-versus-afternoon comparisons the class can run without extra equipment.
- Ready code, so the first reading needs no programming from students.
- Breadboard build only, so the classroom build needs no soldering.
What Is Included
- Arduino-compatible board
- DHT11 temperature and humidity sensor
- LCD display
- Breadboard
- Wires
Every pack also includes: all parts tested before dispatch; step-by-step assembly guide in English and Marathi; ready code where code is needed; a teacher guide with 3 classroom activities, common mistakes, and answers; spare jumper wires and a spare sensor or LED where the part is fragile; and WhatsApp support for the teacher.
Demo video: no video link is shown on this page yet. A demo video link will be added here only when a real video for this kit exists.
Tech Stack
- Arduino-compatible board
- DHT11 temperature and humidity sensor
- LCD display
- Breadboard
Specifications
| Parameter | Value |
|---|---|
| Controller | Arduino-compatible board |
| Main sensor | DHT11 temperature and humidity sensor |
| Display | LCD display |
| Power | Board power as supplied in the pack |
| Build time | 45–60 minutes |
| Soldering | No |
| Coding level | Ready code |
| Phone or computer needed | Computer only to upload the ready code once |
| Wi-Fi needed | No |
Limitations
- This is a classroom weather station. It is not a meteorological instrument and its readings must not be reported as official weather data.
- Readings depend on where the sensor sits. Direct sun, a heater, a door draught, or a crowded room will change the reading.
- The sensor reads the air around it only. It does not measure rain, wind, or air pressure, and the kit does not forecast weather.
Frequently Asked Questions
Do students need to know coding?
No. Ready code is included. The work is reading, recording, and comparing, not programming.
Why do two kits in the same room sometimes read differently?
Sensor position matters: sun, draughts, and crowding change the air around each sensor. Comparing positions is part of the lesson.
Can the station be left running for a week?
Yes, as a classroom display, provided the teacher checks the power and the sensor position each day. It is not designed for outdoor, unattended use.
Is soldering needed?
No. The classroom version uses a breadboard.