More kit photos (2)
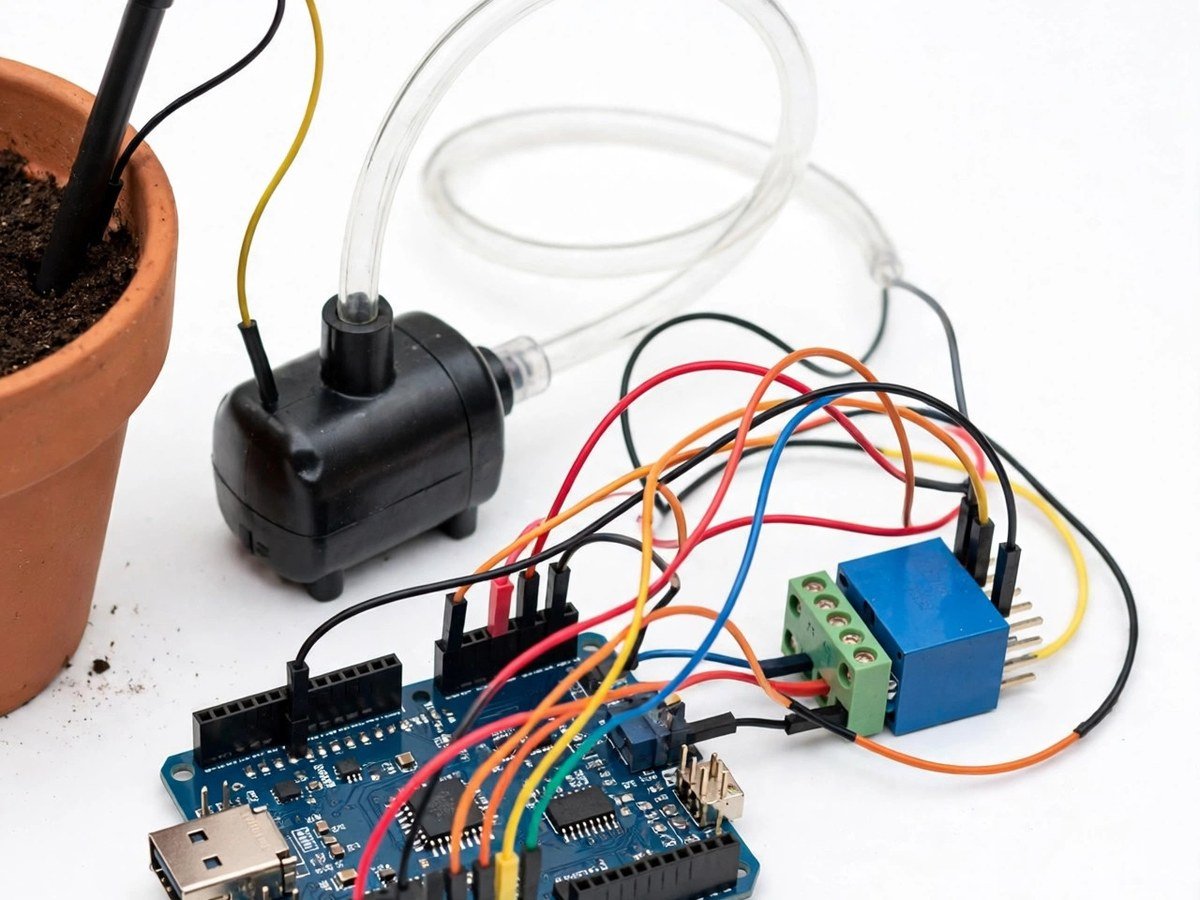
Build time: 60 minutes · Soldering: No
The Problem
For many students, especially in rural schools, watering is not an abstract problem. Plants die when watering is forgotten, and water is wasted when watering is done by guesswork. Yet the school version of this problem is usually taught as a diagram of a sensor and a pump, with no soil, no water, and no decision to watch. This kit puts the soil back in. The class can see a dry reading, watch the pump start, and see it stop when the soil is wet enough. The threshold — the single number that decides when to water — becomes a real choice the class argues about, instead of a word in a textbook. That is why this kit works well as a first demo in a new school.
How It Works
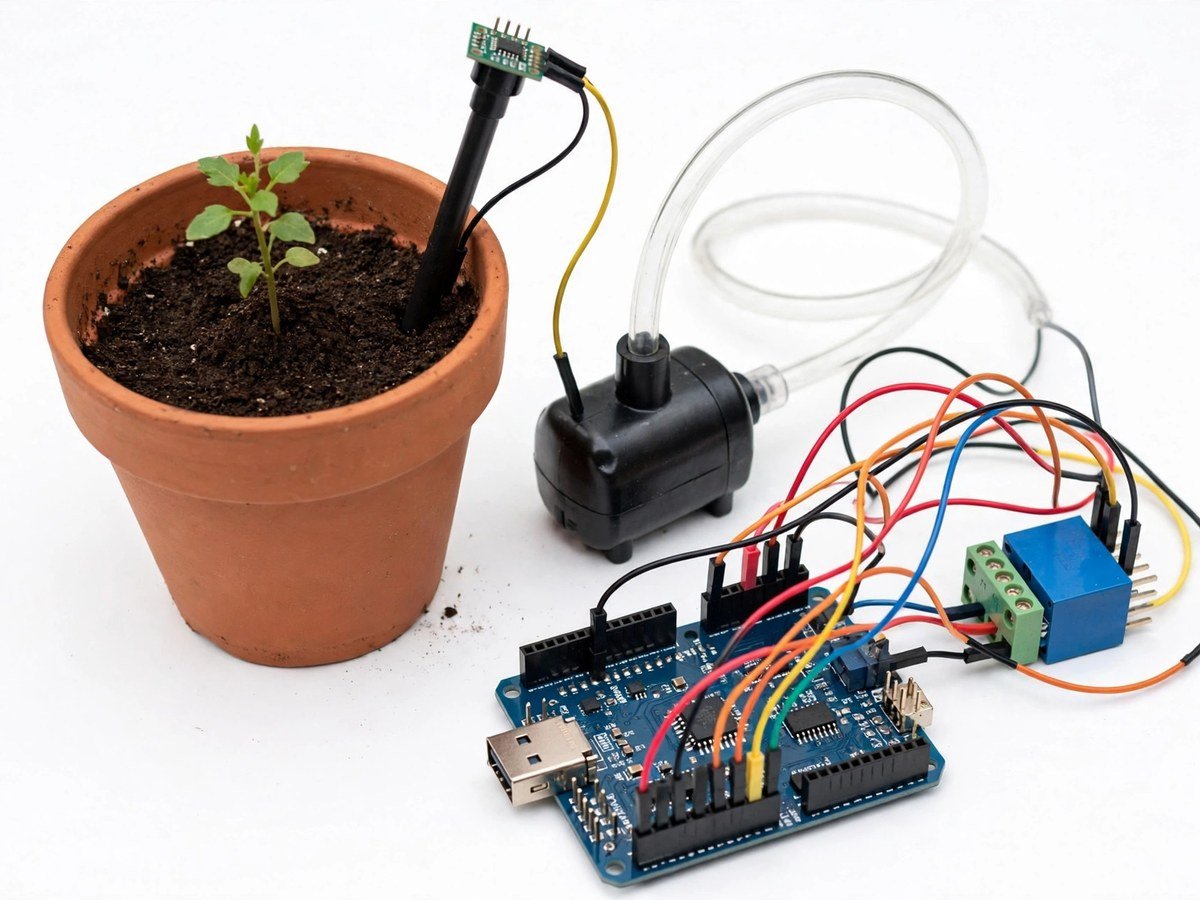
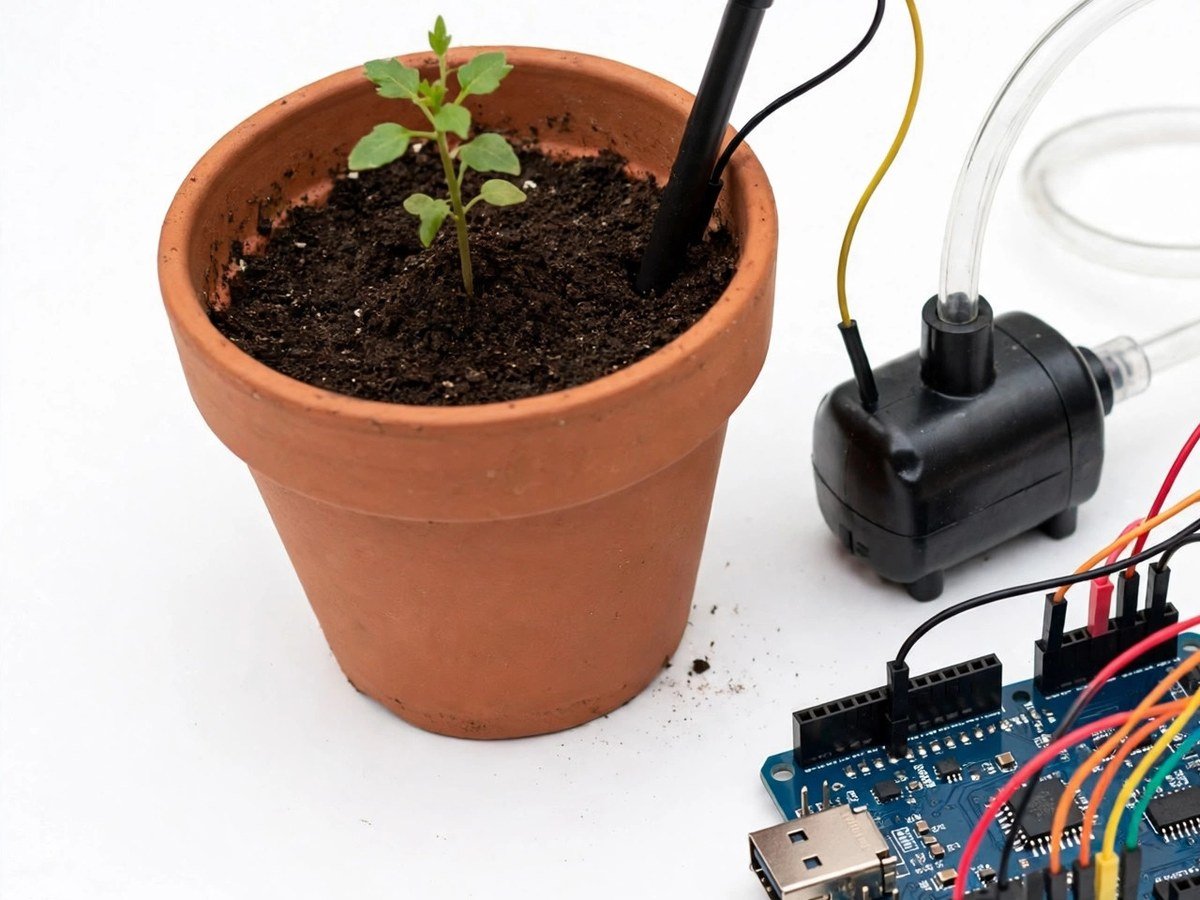
- Place the soil moisture sensor in the demo pot and connect it to the board, following the wiring guide.
- Connect the relay module and the mini water pump with its tube, keeping water away from the board and the battery holder.
- Upload the ready code.
- Read the sensor in dry soil, then in wet soil, and note the two readings on the board.
- Set the watering threshold between those two readings, as a class decision.
- Let the soil dry, then watch the pump start at the threshold and stop when the soil is wet enough.
- Measure the water used in one automatic cycle and compare it with pouring water by hand.
- Dry the sensor and pack the pump and tube separately, so no water reaches the electronics in storage.
Features
- Soil moisture sensing, so the class works with real dry and wet readings, not made-up numbers.
- A relay-switched mini pump, so the sensor reading directly controls the water.
- A class-set threshold, so students decide when watering should start and stop.
- A water-use comparison, so the class can test whether automatic watering actually saves water.
- Breadboard and pre-wired modules only, so the classroom build needs no soldering.
What Is Included
- Arduino-compatible board
- Soil moisture sensor
- Mini water pump + tube
- Relay module
- Small pot (demo size)
- Battery holder
Every pack also includes: all parts tested before dispatch; step-by-step assembly guide in English and Marathi; ready code where code is needed; a teacher guide with 3 classroom activities, common mistakes, and answers; spare jumper wires and a spare sensor or LED where the part is fragile; and WhatsApp support for the teacher.
Demo video: no video link is shown on this page yet. A demo video link will be added here only when a real video for this kit exists.
Tech Stack
- Arduino-compatible board
- Soil moisture sensor
- Relay module
- Mini water pump + tube
- Demo pot
Specifications
| Parameter | Value |
|---|---|
| Controller | Arduino-compatible board |
| Main sensor | Soil moisture sensor |
| Actuator | Mini water pump via relay module |
| Power | Battery holder (batteries as supplied in the pack) |
| Build time | 60 minutes |
| Soldering | No |
| Coding level | Ready code; threshold is set as a class decision |
| Phone or computer needed | Computer only to upload the ready code once |
| Wi-Fi needed | No |
Limitations
- This is a small demo pot system. It is not an irrigation system for a field, and it must not be left running unattended with a large water supply.
- Soil moisture readings vary with soil type, compaction, and sensor depth. The same threshold will not suit every soil.
- Water and electronics must be kept apart. The teacher should supervise the pump test and check for leaks before and after the demo.
- The pump runs for short demo cycles only. Running it dry, with no water in the tube, can damage the pump.
Frequently Asked Questions
Do students need to know coding?
No. Ready code is included. The class decision is the threshold, not the code.
Will this water a real field?
No. It is a demo-pot system that teaches the threshold and pump idea. A field system needs larger pumps, power, and water supply design.
What if the sensor reading does not change?
Check sensor depth and contact with the soil first, then check that the soil sample is genuinely dry or wet. Loose sensor contact is the most common cause.
Is soldering needed?
No. The classroom version uses a breadboard and pre-wired modules.