More kit photos (2)
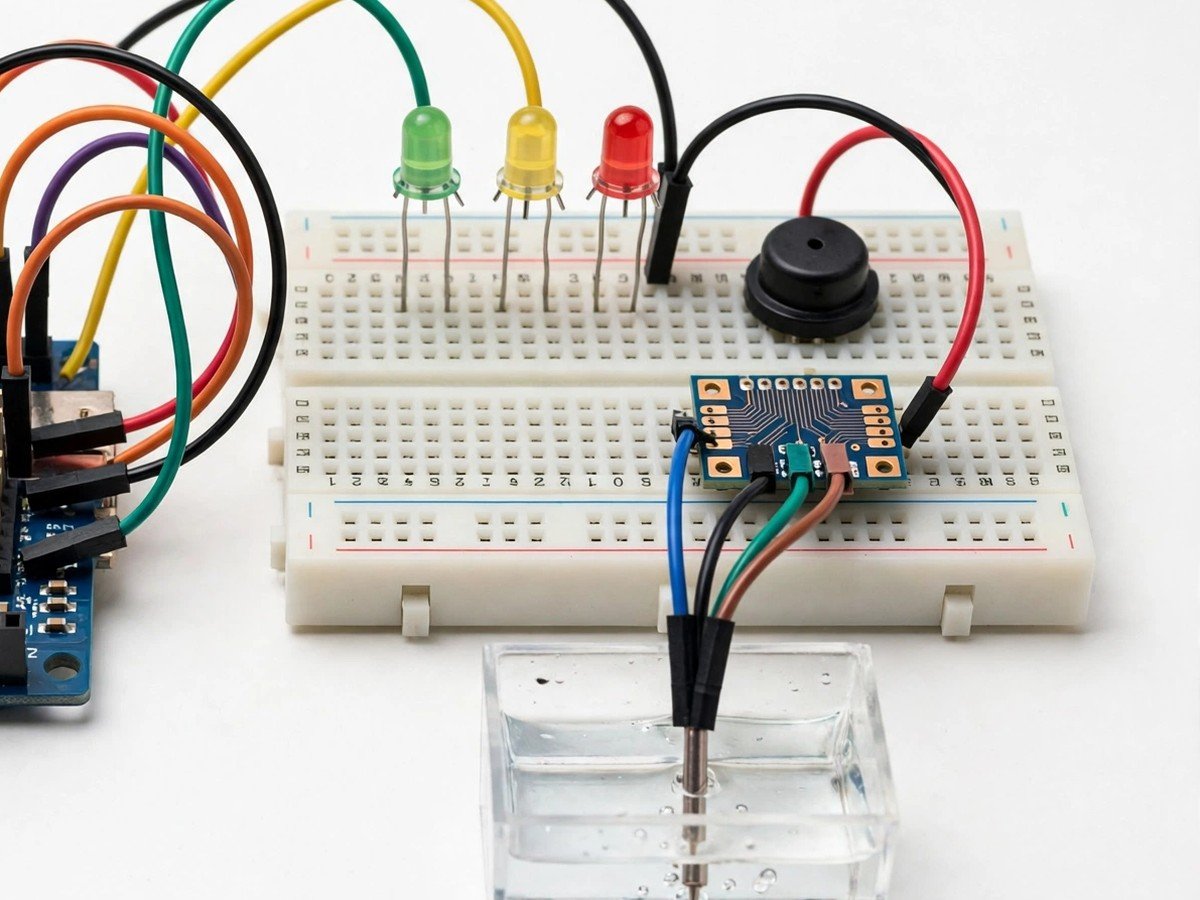
Build time: 45–60 minutes · Soldering: No
Safety note: only the sensor goes in the water. The board, wiring, and power stay dry, and the teacher supervises the water test.
The Problem
Water tanks are usually checked by looking inside them, which is slow, and by the time the tank runs dry or overflows, the problem is already visible. A level indicator turns that checking into a signal: green for low, yellow for middle, red for full, with a buzzer when the tank is full. This kit builds that idea at classroom scale, with a model tank, a sensor in the water, and three LEDs the whole class can read at a glance. Students pour water in slowly and watch the lights climb, then pour it out and watch them fall, which makes the link between a physical level and a displayed signal obvious. The kit deliberately has no pump, so the class can discuss the next step honestly: an indicator shows the level, but stopping an overflow still needs a person or a separate control.
How It Works
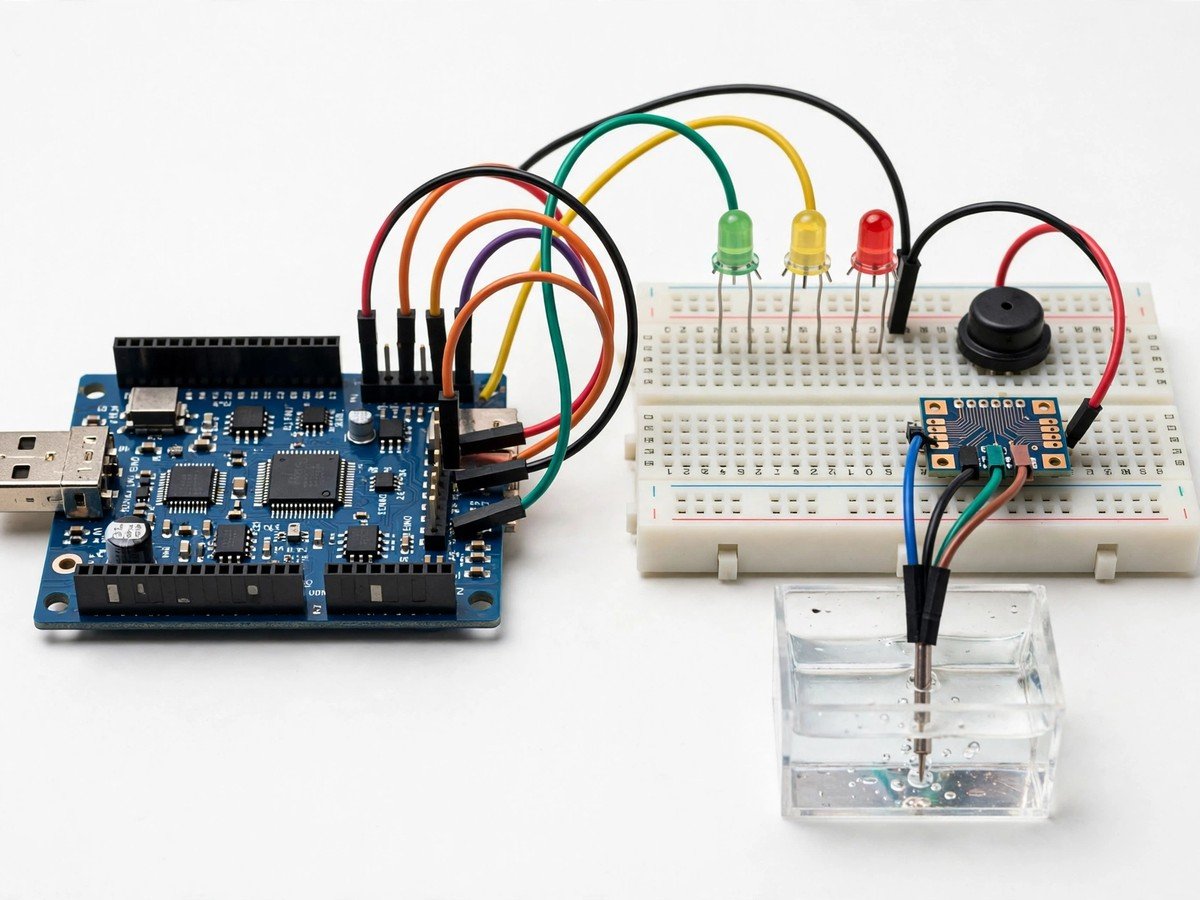
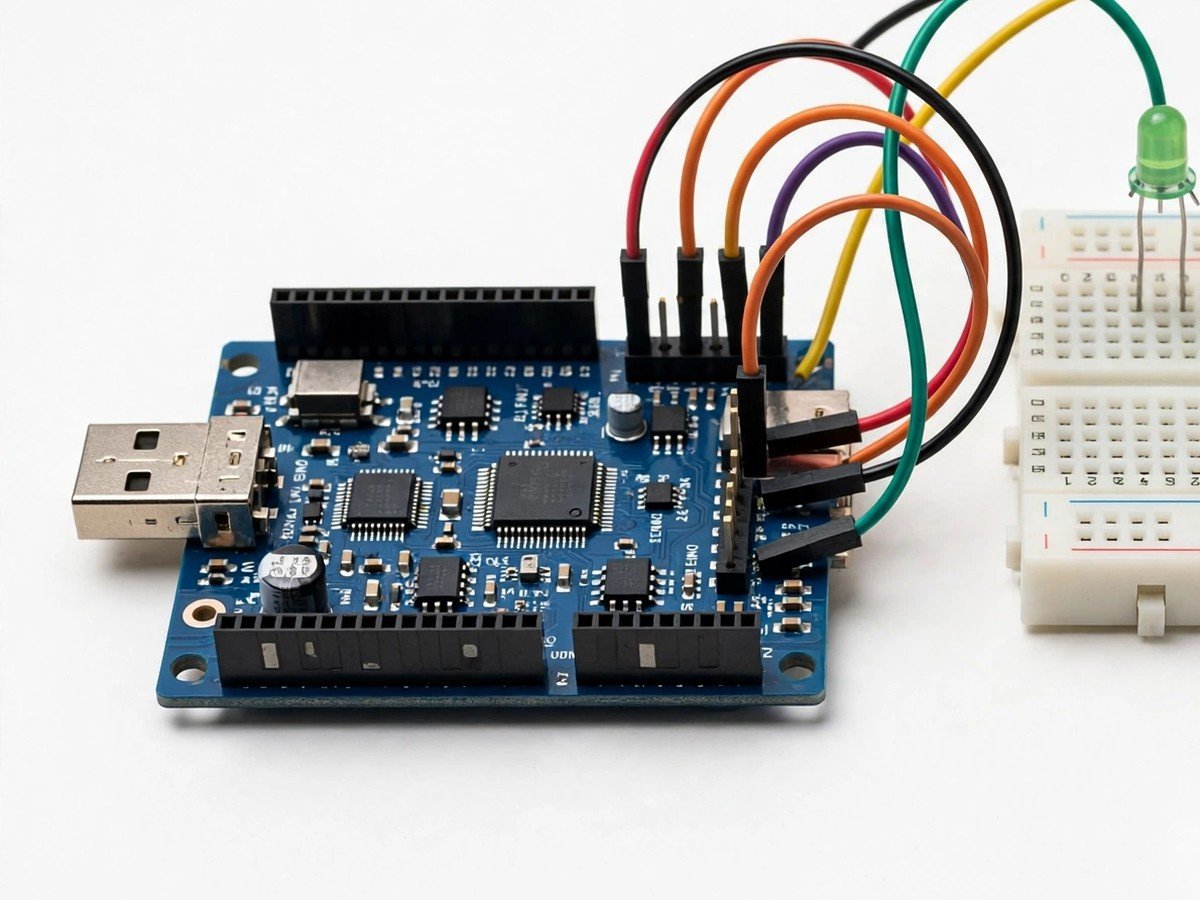
- Connect the water level sensor, the three LEDs, and the buzzer to the board through the breadboard, following the wiring guide.
- Upload the ready code and check that only the green LED is lit with the sensor in an empty model tank.
- Place only the sensor in the model tank, keeping the board, wiring, and power dry and away from the water.
- Pour water in slowly and watch the LEDs light in order: green, then yellow, then red.
- Check that the buzzer sounds when the red, full level is reached.
- Pour water out slowly and watch the LEDs drop back down in reverse order.
- Discuss the honest limit: this kit shows the level, but it does not pump water in or out, so an overflow still needs a person to act.
- Dry the sensor fully before packing, and wipe any splashes off the bench, so the next class starts from a dry sensor.
Features
- A water level sensor in a model tank, so the class works with real water levels, not a pretend input.
- Green, yellow, and red LEDs in order, so the level is readable across the room at a glance.
- A buzzer at the full level, so the class hears the tank-full condition as well as seeing it.
- A pour-in and pour-out test, so students watch the signal rise and fall with the water.
- Breadboard build only, so the classroom build needs no soldering.
What Is Included
- Arduino-compatible board
- Water level sensor
- 3 LEDs
- Buzzer
- Breadboard
- Jumper wires
Every pack also includes: all parts tested before dispatch; step-by-step assembly guide in English and Marathi; ready code where code is needed; a teacher guide with 3 classroom activities, common mistakes, and answers; spare jumper wires and a spare sensor or LED where the part is fragile; and WhatsApp support for the teacher.
Demo video: no video link is shown on this page yet. A demo video link will be added here only when a real video for this kit exists.
Tech Stack
- Arduino-compatible board
- Water level sensor
- 3 LEDs (green, yellow, red)
- Buzzer
- Breadboard
Specifications
| Parameter | Value |
|---|---|
| Controller | Arduino-compatible board |
| Main sensor | Water level sensor, in a model tank |
| Level outputs | 3 LEDs: green, yellow, red |
| Full-level signal | Buzzer at the red level |
| Power | Board power as supplied in the pack |
| Build time | 45–60 minutes |
| Soldering | No |
| Coding level | Ready code; no code change needed to run it |
| Phone or computer needed | Computer only to upload the ready code once |
| Wi-Fi needed | No |
Limitations
- This is a classroom demonstration of level indication. It is not a tank monitoring or control system for a real tank, and it must never be used to manage a real water supply.
- The kit has no pump. It shows the level only; it does not fill the tank, stop an overflow, or start a motor, and a person must still act on the signal.
- Water and electronics must be kept apart. Only the sensor goes in the water; the board, wiring, and power stay dry, and the teacher must supervise every water test.
- Readings depend on sensor position and on the water itself. A tilted sensor, a dirty sensor, or water with floating bits in it can change which LED lights.
Frequently Asked Questions
Do students need to know coding?
No. Ready code is included, and the kit runs as soon as the sensor is placed in the model tank.
Why do the LEDs not match the water I can see?
Check that the sensor sits straight in the tank and is clean. A tilted or dirty sensor reads a different level from the one the class can see.
Can this kit stop a real tank from overflowing?
No. It has no pump and no control output. It only shows the level, and a person must act on the signal.
Is soldering needed?
No. The classroom version uses a breadboard and pre-wired modules.