
More project photos (2)
Watch it work
The problem
This project starts as a luxmeter and grows into a fridge warning system. An LDR reads the light level, a temperature sensor reads the heat, and an Arduino Uno turns both readings into words on a 16x2 LCD: the lux value, and a plain-language warning for the exact combination of light and temperature the sensors see. A push button acts as the door sensor, confirming when the door is closed. The demonstration first checks the lux reading against a light-meter app on a phone, then walks through the four conditions one by one, and finishes with the door-sensor press.
How it works
From switch-on to a confirmed closed door takes five stages a student can trace and test. The builder wires the LDR, the temperature sensor, the 16x2 LCD and the push button to an Arduino Uno on a breadboard. The firmware reads the LDR and the temperature sensor, converts the LDR voltage to lux, and evaluates the four light and temperature combinations, showing the matching warning on the LCD. The push button is pressed to confirm the door is closed.
- The builder assembles the system: an LDR and a temperature sensor, a 16x2 LCD and a push button, wired to an Arduino Uno on a breadboard, powered from a 5 V USB supply.
- The builder checks the luxmeter alone: the LDR reading is converted to lux and compared with a phone light-meter app, so the ADC-to-lux formula is verified against a reference.
- The builder checks the temperature sensor alone: its reading is watched as the sensor is warmed and cooled, so a stuck or reversed reading is found early.
- The builder checks the four conditions one by one: each light and temperature combination is set up and the LCD message is checked against the expected warning.
- The builder records the demonstration run: the lux reading beside the phone app, all four conditions, and the door-sensor press confirming the door is closed, all visible in the video.
Tech stack:
- Arduino Uno · ATmega328P microcontroller
- LDR light sensor · voltage divider
- Temperature sensor · analogue input
- 16x2 LCD · HD44780 display
- Push-button door sensor · digital input
- Breadboard prototype · jumper wiring
- Embedded C · Arduino IDE firmware
- 5V USB power · bench supply
| Parameter | Value |
|---|---|
| Controller | Arduino Uno · ATmega328P · 16 MHz |
| Light sensor | LDR · voltage divider · ADC-to-lux conversion |
| Temperature sensor | Analogue temperature sensor |
| Display | 16x2 LCD · HD44780 · lux value and condition warnings |
| Door sensor | Push button · door open/closed confirmation |
| Conditions | Four light and temperature combinations with plain-language warnings |
| Power | 5 V USB · bench supply |
| Build style | Breadboard prototype |
Project features
The build works because every reading ends up as a message a person can act on. The LDR and the temperature sensor are read together, the lux value is worked out from the LDR voltage with an ADC-to-lux formula, and the LCD shows the reading and the right warning for the combination it sees — not a raw number to interpret.
- [Lux reading on the LCD] The LDR voltage is converted to a lux value with an ADC-to-lux formula and shown on the 16x2 LCD, so the light level is readable at a glance — implemented in the base build.
- [Reading checked against a phone app] The lux reading is compared with a light-meter app on a phone, so the formula is verified against a reference before the warning logic is trusted — implemented in the base build.
- [Four fridge conditions] Each combination of light and temperature gets its own message, so the system reports a situation instead of two numbers — implemented in the base build.
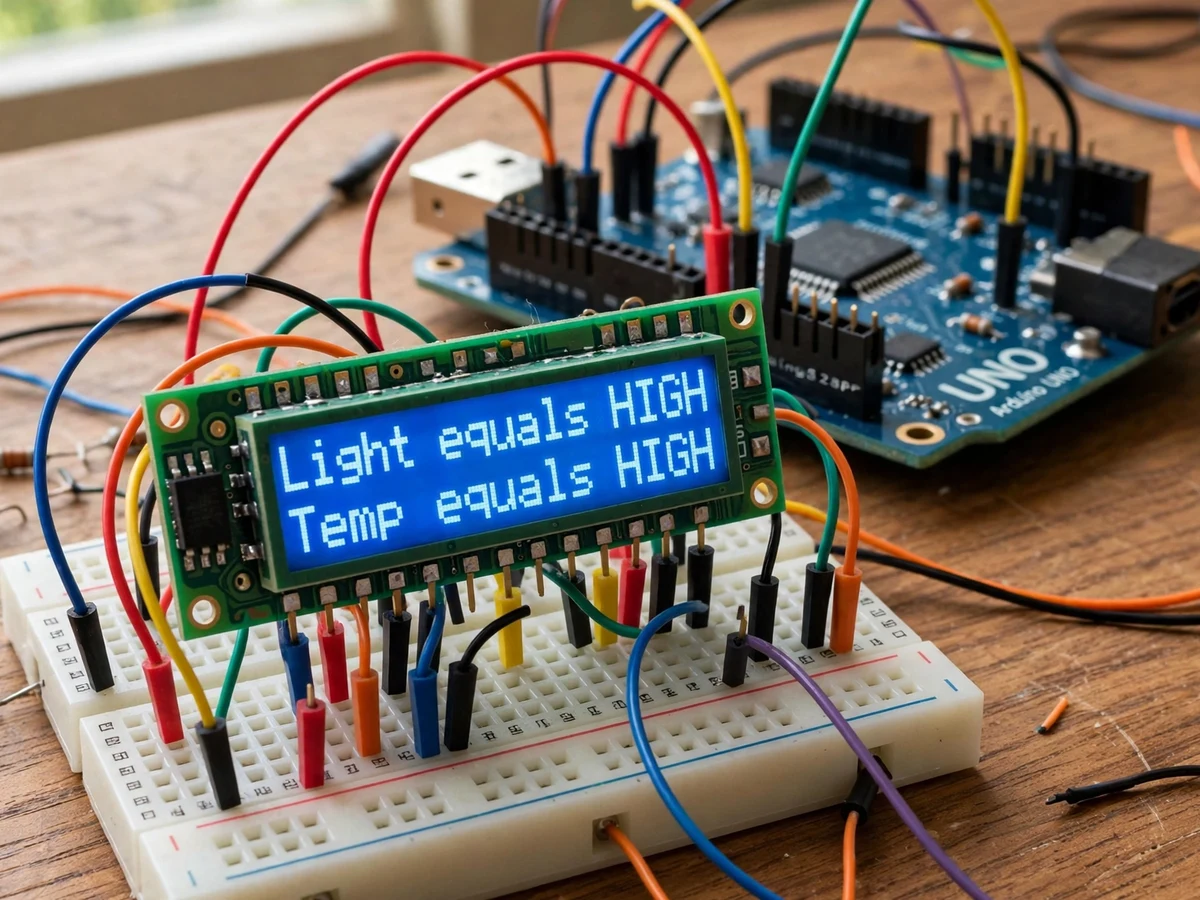
- [Close-the-door warning] Light high and temperature high shows a close-the-door warning, the sign of a fridge door left open — implemented in the base build.
- [Check-the-light-bulb warning] Light high and temperature low shows a check-the-light-bulb warning, the sign of a bulb or wiring fault — implemented in the base build.
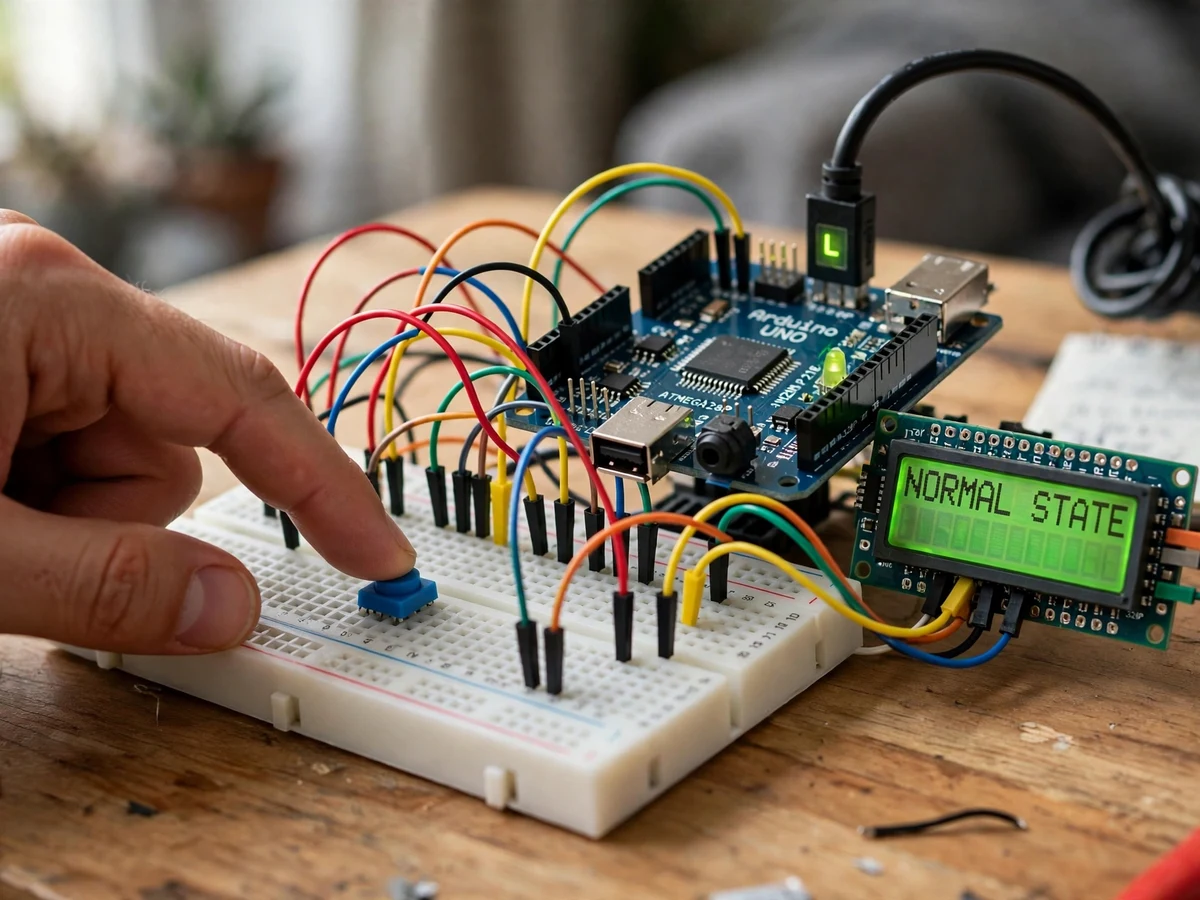
- [Normal state] Light low and temperature low shows a normal state, so a healthy fridge is confirmed rather than assumed — implemented in the base build.
- [Check-the-compressor warning] Light low and temperature high shows a check-the-compressor-system warning, the sign of a fridge that is lit but not cooling — implemented in the base build.
- [Push-button door sensor] A push button acts as the door sensor: pressing it confirms the door is closed on the LCD, so the door state is tested directly — implemented in the base build.
What is included
- Working breadboard build with Arduino Uno, LDR, temperature sensor, 16x2 LCD and push-button door sensor
- Arduino firmware with the ADC-to-lux conversion and the four-condition warning logic
- Wiring diagram and component list
- Test and demonstration procedure (luxmeter check, temperature check, four-condition check, door-sensor check)
- Project report PDF (LDR sensing, ADC-to-lux conversion, condition logic, demonstration results, honest measurement limits)
- PPT presentation for final review
- Viva Q&A preparation document (how the ADC-to-lux conversion works, what each of the four conditions means, how the door sensor confirms a closed door, what limits an LDR lux reading)
Limitations & prerequisites
- LDR lux is an approximation: the lux value comes from an ADC-to-lux formula, not a calibrated meter, so it needs a reference meter for any audit use.
- Fixed thresholds: the temperature thresholds are fixed in the demo build, with no adjustable setpoints in the base build.
- LCD warnings only: the warnings are text on the LCD, with no buzzer or alarm sound in the base build.
- No logging or alerts: there is no data logging, no SMS or app alert, and no remote monitoring in the base build.
- Manual door sensor: the door sensor is a push button pressed by hand, not an automatic magnetic reed switch.
- Tabletop model, not certified: this is a student prototype for learning and demonstration, not a certified appliance monitor, and it is not tested or certified for use on a real refrigerator.
Frequently Asked Questions
Is this project suitable for a final-year project?
Yes, for Electronics, Electrical and IoT programmes, because it combines light sensing, temperature sensing, ADC conversion and condition logic on a single microcontroller into one testable loop, with a clear review thread around the four fridge conditions.
How does the luxmeter work?
An LDR changes resistance with light level. The Arduino reads the LDR voltage through an ADC, converts it to a lux value with an ADC-to-lux formula, and shows it on the 16x2 LCD. The demonstration checks the reading against a light-meter app on a phone.
What are the four fridge conditions?
Light high with temperature high means close the door; light high with temperature low means check the fridge light bulb; light low with temperature low means normal state; light low with temperature high means check the compressor system.
How does the door sensor work?
A push button acts as the door sensor. Pressing it tells the Arduino the door is closed, and the LCD confirms it with a door-closed message.
What will I receive with the project?
The working breadboard build with Arduino Uno, LDR, temperature sensor, 16x2 LCD and push-button door sensor, the firmware with the ADC-to-lux conversion and the four-condition logic, the wiring diagram and component list, the test and demonstration procedure, the project report, the presentation and the viva Q&A document. A 5 V USB supply and a laptop for uploading the firmware are needed, both covered in the setup guide.
Components & software requirements
- Arduino Uno · ATmega328P microcontroller
- LDR light sensor · voltage divider
- Temperature sensor · analogue input
- 16x2 LCD · HD44780 display
- Push-button door sensor · digital input
- Breadboard prototype · jumper wiring
- Embedded C · Arduino IDE firmware
- 5V USB power · bench supply
Delivery information
Built-to-order project. Delivery timeline is shared after order confirmation based on current queue.
Support terms
Complete documentation, setup guide, and viva preparation included. Support for setup and explanation provided.
Download free synopsis (PDF)
Enter your name and WhatsApp number — the synopsis PDF downloads immediately. We may send occasional project updates on WhatsApp; no spam.