
More project photos (2)
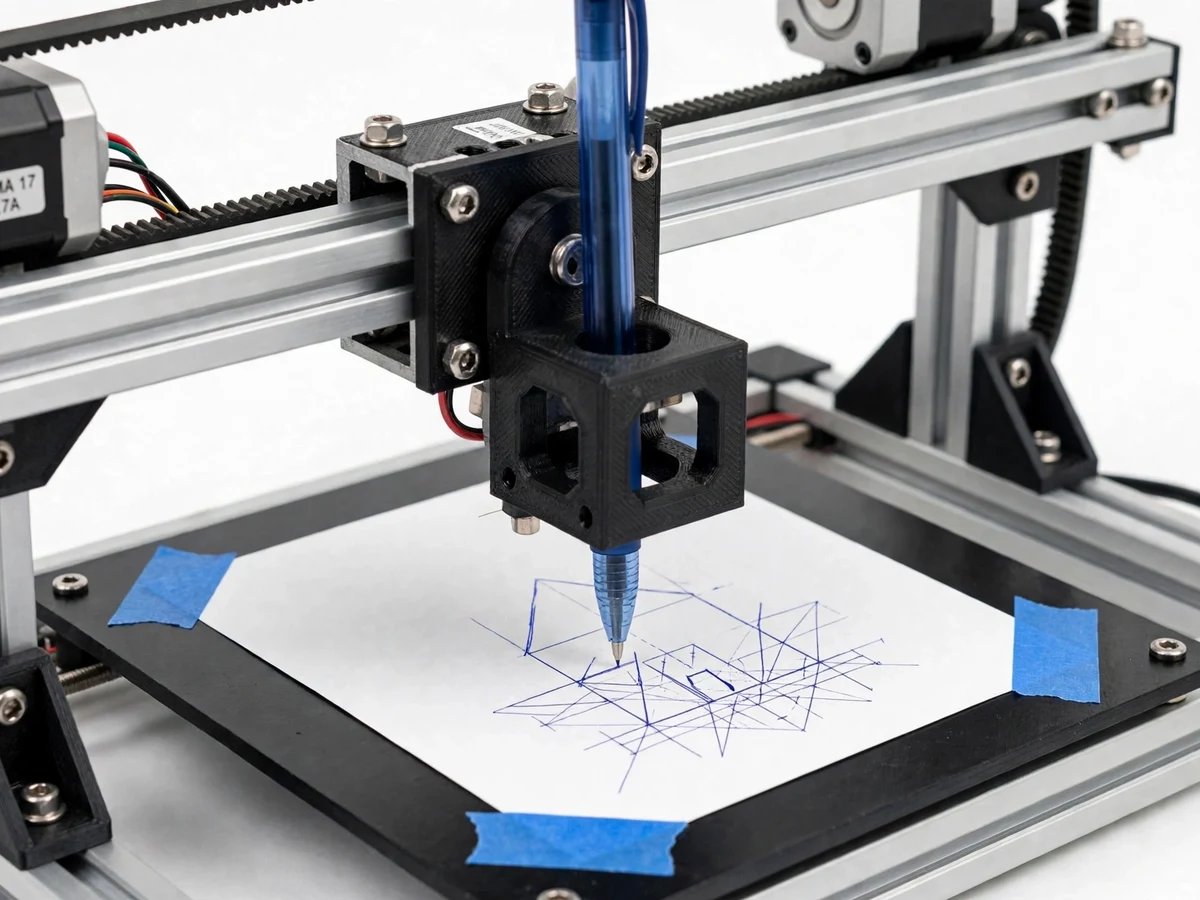

The problem
Industrial CNC machines are expensive, fenced off, and opaque: students learn G-code and motion control from slides while the hardware that makes those concepts real stays out of reach. The result is theory without feel — acceleration planning, steps-per-millimetre calibration, and coordinate systems remain abstractions. A desktop pen plotter closes that gap with the cheapest possible CNC: two stepper-driven axes, an Arduino running GRBL, and a pen. Suddenly G-code is not a syntax exercise but a drawing that either lands on the paper or misses it, and every miscalibrated steps/mm setting shows up as a visibly skewed line. The build also teaches the mechanical half of mechatronics — belt tension, frame rigidity, homing — that pure software projects never touch. For a student who has only simulated motion control, watching a machine draw from their own G-code is the first genuine CNC experience.
How it works
Vector artwork or text is created in Inkscape (or any vector editor).
An Inkscape G-code extension converts the paths into G-code motion commands.
The G-code file is loaded into Universal G-code Sender (or Candle) on the PC.
The sender streams G-code line-by-line over USB to the Arduino.
GRBL firmware on the Arduino interprets the G-code into coordinated stepper pulses with acceleration planning.
A4988/DRV8825 drivers energize the NEMA 17 stepper motors, moving the gantry along X and Y.
An SG90 servo lifts and drops the pen at the right moments, drawing the design on paper; limit switches handle homing and safe travel.
Project features
2-axis (X/Y) gantry with stepper motors for precise planar motion
Arduino UNO + CNC Shield running GRBL 1.1 motion-control firmware
Servo-driven pen lift for clean pen-up/pen-down between strokes
Draws vector art, text, logos and PCB layouts from G-code files
USB serial control via Universal G-code Sender / Candle software
Limit switches for homing and safe axis travel
Adjustable feed rate and acceleration tuned in GRBL settings ($-parameters)
Calibration routine for steps/mm accuracy on both axes
Interchangeable pens: fine-liner, marker or gel pen holders
Sample G-code artwork files included for instant demonstration
What is included
Assembled mini CNC plotter (gantry, steppers, pen lift)
Arduino with GRBL firmware flashed and $-settings documented for your calibration
Complete wiring diagram (CNC shield, drivers, steppers, servo, limit switches)
Sample G-code artwork files + Inkscape setup guide
Project report PDF (CNC theory, GRBL configuration, calibration and accuracy tests)
PPT presentation
Viva Q&A preparation document (G-code basics, stepper theory, GRBL internals, calibration)
FAQs
- What is GRBL and why is it used here? GRBL is open-source firmware that turns an Arduino into a CNC motion controller: it receives G-code over USB, plans acceleration/deceleration, and generates precisely timed stepper pulses. It is the standard choice for DIY CNC machines and 3D printers.
- How does a drawing become G-code? Design in Inkscape, then use a G-code export extension to convert vector paths into motion commands. The setup guide walks through this, and sample G-code files are included.
- Can it mill PCBs or engrave? No — this build draws with a pen. It can draw PCB layouts on paper for toner transfer, but true milling needs a spindle, a rigid Z-axis and different tuning.
- How accurate is it? With careful steps/mm calibration, positioning can reach sub-millimetre levels — enough for text, logos and vector art. The report includes the accuracy-test procedure (comparing drawn vs designed dimensions) to run during your calibration.
- What is the drawing area? Approximately A5 to A4 size, depending on the frame build — the exact area is specified in the build report.
Limitations & prerequisites
2D plotting only — it cannot mill, cut or engrave 3D parts (no spindle).
Drawing speed trades off against quality; very high feed rates cause wobble on fine lines.
Limited to paper and light media; pens only, no cutting tools.
Belt tension and frame rigidity need periodic re-checking for best accuracy.
Components & software requirements
Arduino UNO + CNC Shield V3 (motion controller)
GRBL 1.1 firmware (G-code interpreter, acceleration planning)
A4988 / DRV8825 stepper drivers + NEMA 17 stepper motors
SG90 servo motor (pen lift Z-axis)
Universal G-code Sender / Candle (PC-side G-code streaming)
Inkscape + G-code extension (artwork to G-code conversion)
12 V power supply, limit switches, GT2 belts and smooth-rod gantry
Specifications
| Parameter | Value |
|---|---|
| Motion control | GRBL 1.1 on Arduino UNO + CNC Shield |
| Axes | X and Y (2-axis); servo pen lift as Z |
| Work area | Approx. A5–A4 size drawing area (model dependent) |
| Drive | NEMA 17 steppers, GT2 belt drive |
| Resolution | Steps/mm calibrated per axis (sub-mm positioning) |
| Pen lift | SG90 servo, software-controlled up/down |
| Feed rate | Adjustable via GRBL $110/$111 (documented for your build) |
| Homing | Limit switches on X and Y |
| Interface | USB serial, 115200 baud G-code streaming |
| Output media | Paper with fine-liner/marker/gel pens |