
More project photos (3)


Watch it work
The problem
This 1D Pong game shrinks the classic game down to a single dimension: one bright light travels around a ring of colour LEDs, and the player presses one button at exactly the right moment. An Arduino Uno drives the ring, reads the button, speeds the ball up the longer the game runs, and plays sounds through a small speaker. The demonstration shows the game being played on the bench — the ball travelling, the button pressed at the base, the lights changing colour as the pace rises — and then takes a look behind the scenes at the wiring, the speaker and the Arduino.
How it works
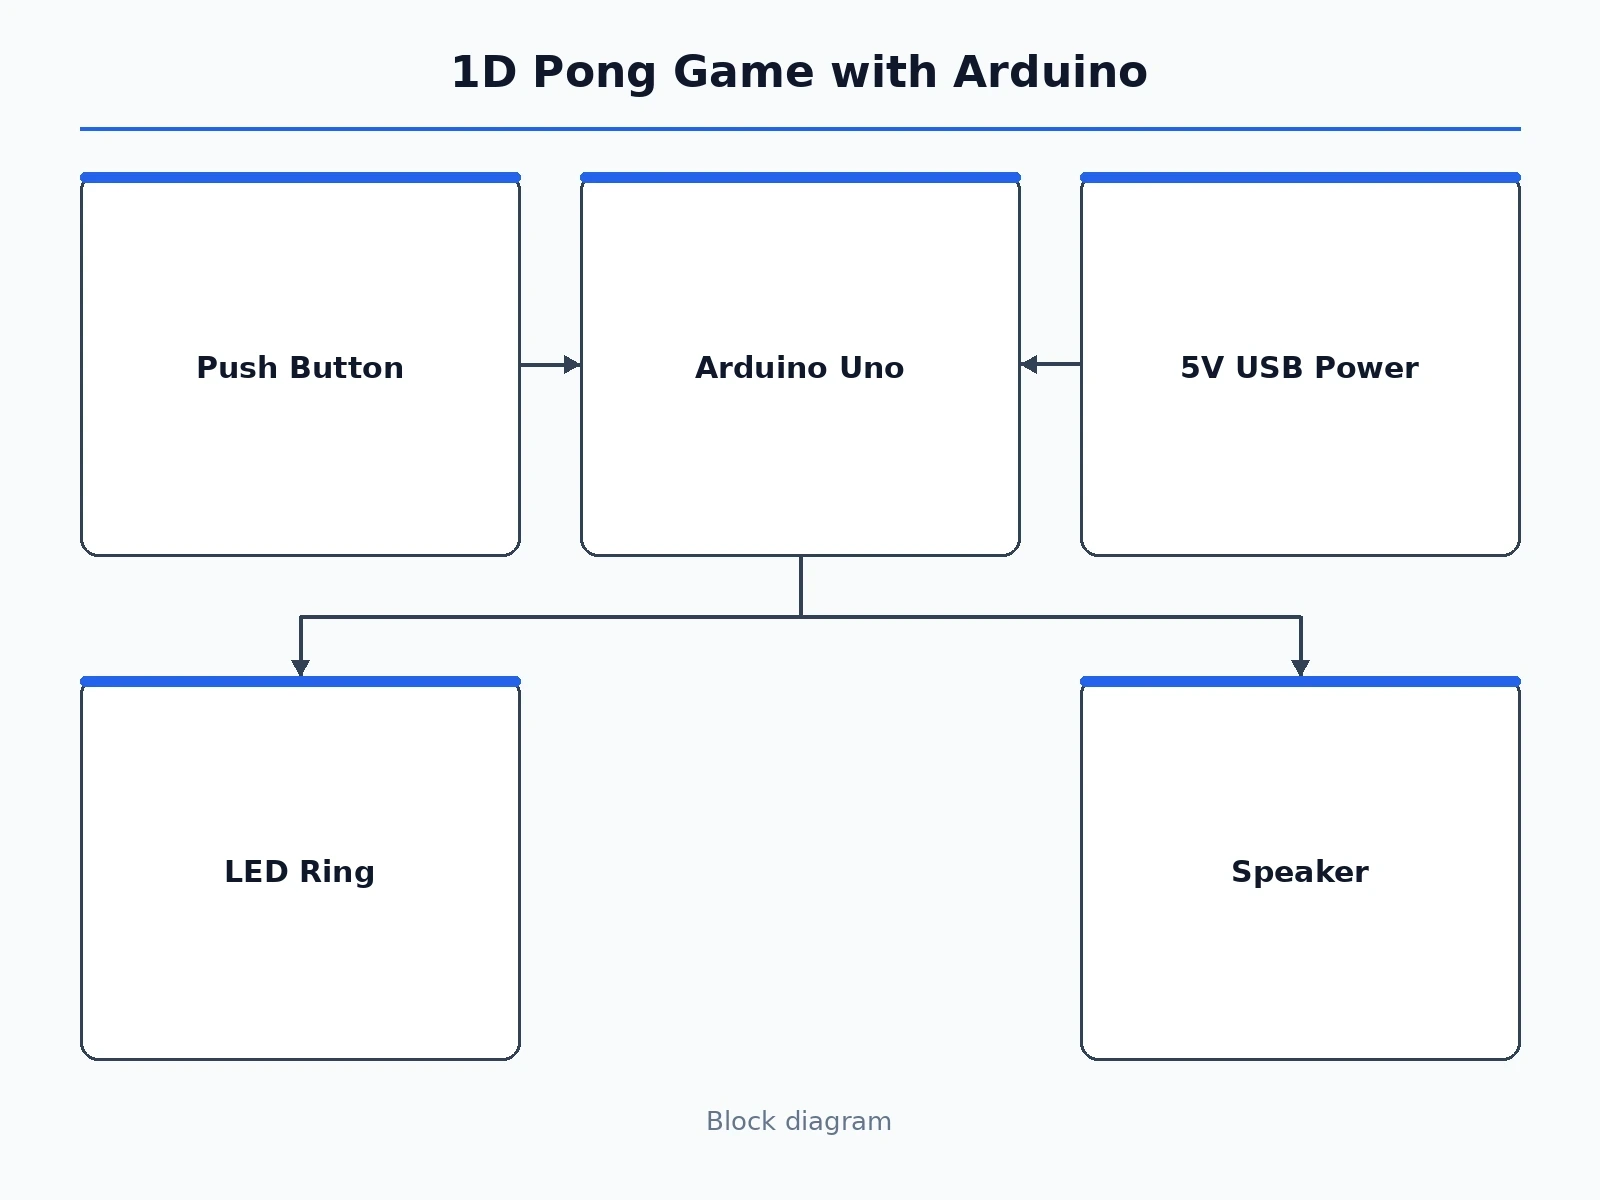
From switch-on to a faster ball takes five stages a student can trace and test. The builder mounts the ring of addressable LEDs on a cardboard frame and wires it, the push button and the small speaker to an Arduino Uno on a breadboard. The firmware then moves one lit LED around the ring as the ball, and the player presses the button just before the ball reaches the base. A well-timed press sends the ball back around; the ball speeds up the longer the game runs, and the LEDs change colour as the pace rises.
- The builder assembles the game: a ring of addressable colour LEDs on a cardboard frame, wired with a push button and a small speaker to an Arduino Uno on a breadboard, powered from a 5 V USB supply.
- The builder checks the ring alone: every LED is lit in turn, so a dead LED is found before the Arduino is connected.
- The builder checks the ball movement alone: the firmware moves one lit LED around the ring at a fixed speed and the travel is confirmed by eye.
- The builder checks the button timing alone: presses are judged against the ball reaching the base, and the speed-up and colour change are checked as the game runs longer.
- The builder records the demonstration run: the game being played, the speed-up and colour change, and the behind-the-scenes wiring tour, all visible in the video.
Tech stack:
- Arduino Uno · ATmega328P microcontroller
- Addressable LED ring · individually controlled colour LEDs
- Push-button input · timing-based gameplay
- Breadboard prototype · jumper wiring
- Small speaker · game sounds
- Embedded C · Arduino IDE firmware
- 5V USB power · bench supply
| Parameter | Value |
|---|---|
| Controller | Arduino Uno · ATmega328P · 16 MHz · 2 KB SRAM (Datasheet value) |
| Display | Ring of addressable colour LEDs · individually controlled |
| Input | Single push button · press before the ball reaches the base |
| Audio | Small speaker · game sounds |
| Gameplay | Ball speeds up the longer the game runs |
| Colours | Green then purple then red as the pace rises |
| Power | 5 V USB · bench supply |
| Build style | Cardboard frame · breadboard prototype |
Project features
The game works because every part of it is visible on one small build. The Arduino moves one lit LED around the ring as the ball, and the player must press the button just before the ball reaches the base of the ring. A well-timed press sends the ball back around, while the ball speeds up the longer the game runs and the LEDs shift colour from green through purple to red. A small speaker in the box plays the game sounds, and the whole build is easy to extend with more LEDs and more extras.
- [Ball travels around the LED ring] One lit LED moves around the ring as the ball, so the game state is visible at a glance without any screen — implemented in the base build.
- [Button timing at the base] The player presses a push button just before the ball reaches the base of the ring, so the game is won or lost on timing, not on luck — implemented in the base build.
- [Ball speeds up with play] The ball gets faster the longer the game runs, so each round is harder than the one before — implemented in the base build.
- [Colour change with pace] The LEDs shift colour from green through purple to red as the speed rises, so the difficulty is visible as well as felt — implemented in the base build.
- [Speaker game sounds] A small speaker in the box plays the game sounds, so the game has audio feedback as well as light — implemented in the base build.
- [Behind-the-scenes wiring] The demonstration shows the breadboard wiring, the speaker and the Arduino, so the whole build can be traced and explained — implemented in the base build.
- [Easy to extend] The ring can be extended with more LEDs and more extras, so the game can grow beyond the base build — implemented in the base build.
What is included
- Working LED ring on its cardboard frame with Arduino Uno, push button and small speaker, wired on a breadboard
- Arduino firmware with the game logic (ball movement, button timing, speed-up, colour change, sounds)
- Wiring diagram and component list
- Test and demonstration procedure (ring check, ball-movement check, button-timing check, sound check)
- Project report PDF (game timing, LED driving, demonstration results, honest measurement limits)
- PPT presentation for final review
- Viva Q&A preparation document (how the ball timing works, why the ball speeds up, how the colour change maps to pace, what limits a one-dimensional game)
Limitations & prerequisites
- One-dimensional only: the game is a single ball on a ring, so there is no paddle movement or two-player mode in the base build.
- No numeric score display: the LEDs themselves show the game state; there is no separate score readout in the base build.
- Cardboard frame: the ring is mounted on a cardboard frame for the bench, so it must be handled on a table and kept away from knocks.
- Simple sounds: the speaker gives simple game sounds, not music or speech.
- Tabletop model, not certified: this is a student prototype for learning and demonstration, not a commercial game product, and it is not tested or certified for sale as a consumer device.
Frequently Asked Questions
Is this project suitable for a final-year project?
Yes, for Electronics, Electrical and IoT programmes, because it combines LED driving, input timing, game logic and sound on a single microcontroller into one testable loop, with a clear review thread around the ball timing.
How do you play it?
One lit LED travels around the ring as the ball. You press the button just before the ball reaches the base of the ring; a well-timed press sends the ball back around.
Does the game get harder?
Yes: the ball speeds up the longer the game runs, and the LEDs change colour from green through purple to red as the pace rises.
What does the speaker do?
It plays the game sounds, so the game has audio feedback as well as light.
What will I receive with the project?
The working LED ring on its cardboard frame with Arduino Uno, push button and speaker, the firmware with the game logic, the wiring diagram and component list, the test and demonstration procedure, the project report, the presentation and the viva Q&A document. A 5 V USB supply and a laptop for uploading the firmware are needed, both covered in the setup guide.
Components & software requirements
- Arduino Uno · ATmega328P microcontroller
- Addressable LED ring · individually controlled colour LEDs
- Push-button input · timing-based gameplay
- Breadboard prototype · jumper wiring
- Small speaker · game sounds
- Embedded C · Arduino IDE firmware
- 5V USB power · bench supply
Delivery information
Built-to-order project. Delivery timeline is shared after order confirmation based on current queue.
Support terms
Complete documentation, setup guide, and viva preparation included. Support for setup and explanation provided.
Download free synopsis (PDF)
Enter your name and WhatsApp number — the synopsis PDF downloads immediately. We may send occasional project updates on WhatsApp; no spam.